Replacing the Header Logo in wordpress
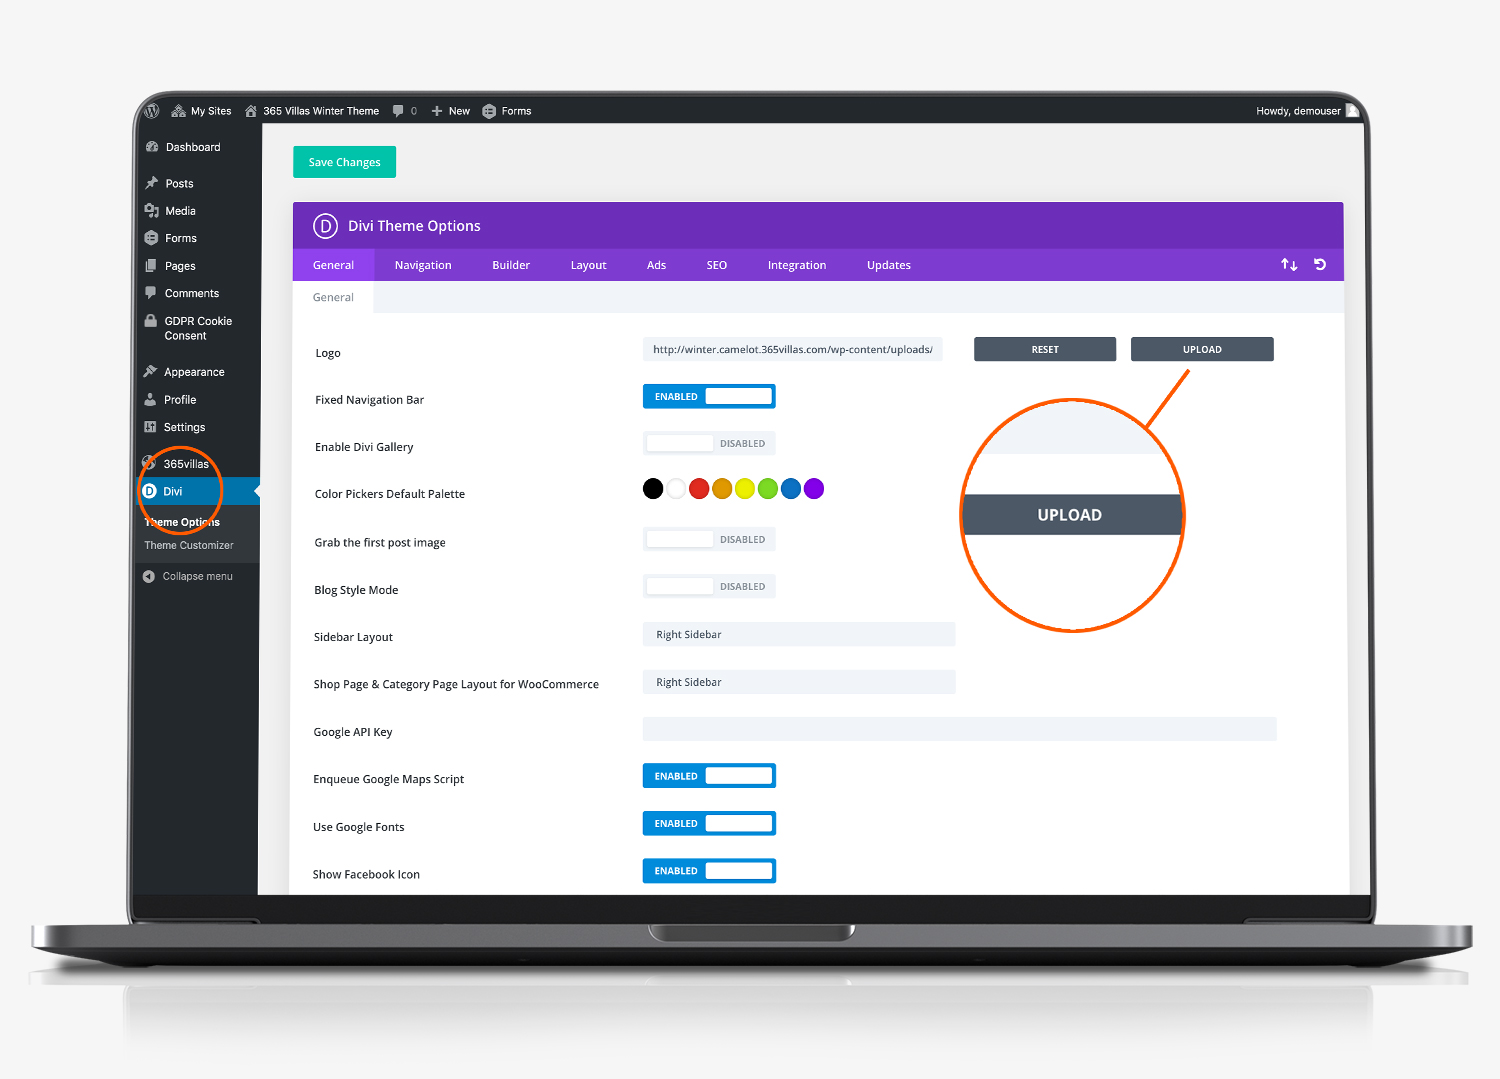
Replacing logos in wordpress. Your website has 3 main areas where your logo is displayed. The first area is the logo in the site’s main header. To replace this logo, click on DIVI in the lefthand menu within the content management system of your website.
Under the ‘General’ tab, the first item is the default logo url.

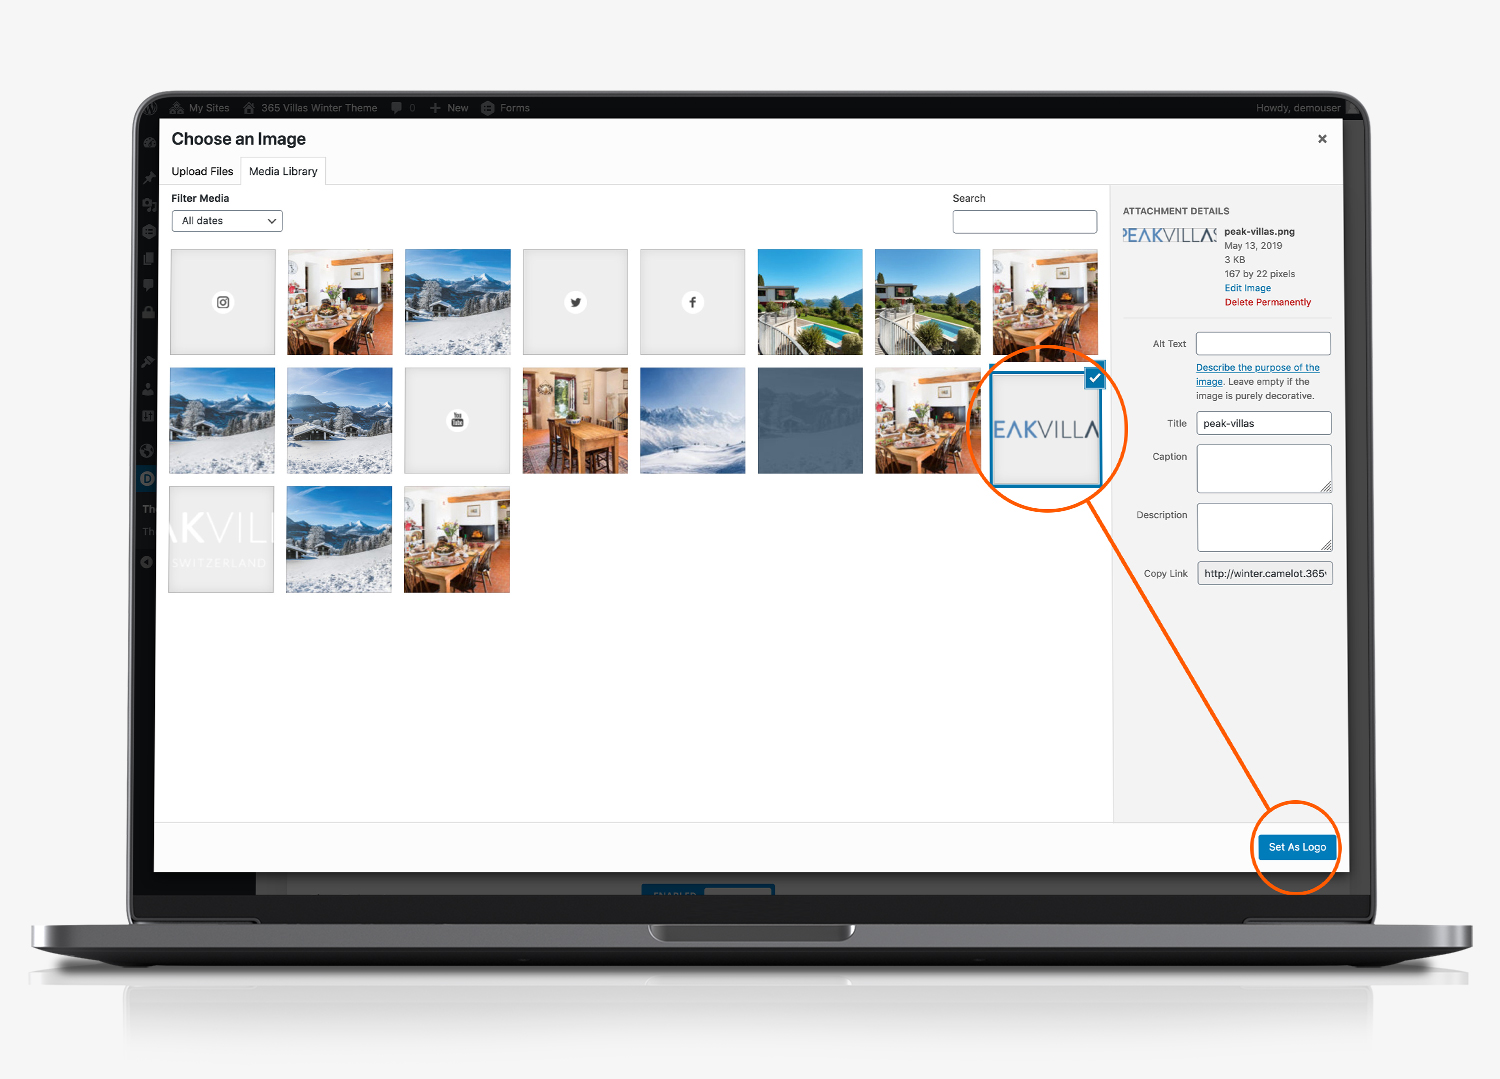
To replace this click ‘upload’. This will take you to the media library for your website. From here you can either select your logo (if you have already uploaded it), or you can upload it by dragging and dropping the logo from your device. Click the ‘set as logo’ button after you have made your selection.
Select Your Logo From The Media Library

Logos come in all shapes and sizes. Taller logos tend to make the header deeper, by pushing the content further down the page. If you have a rectangular version of your logo, this will work best.
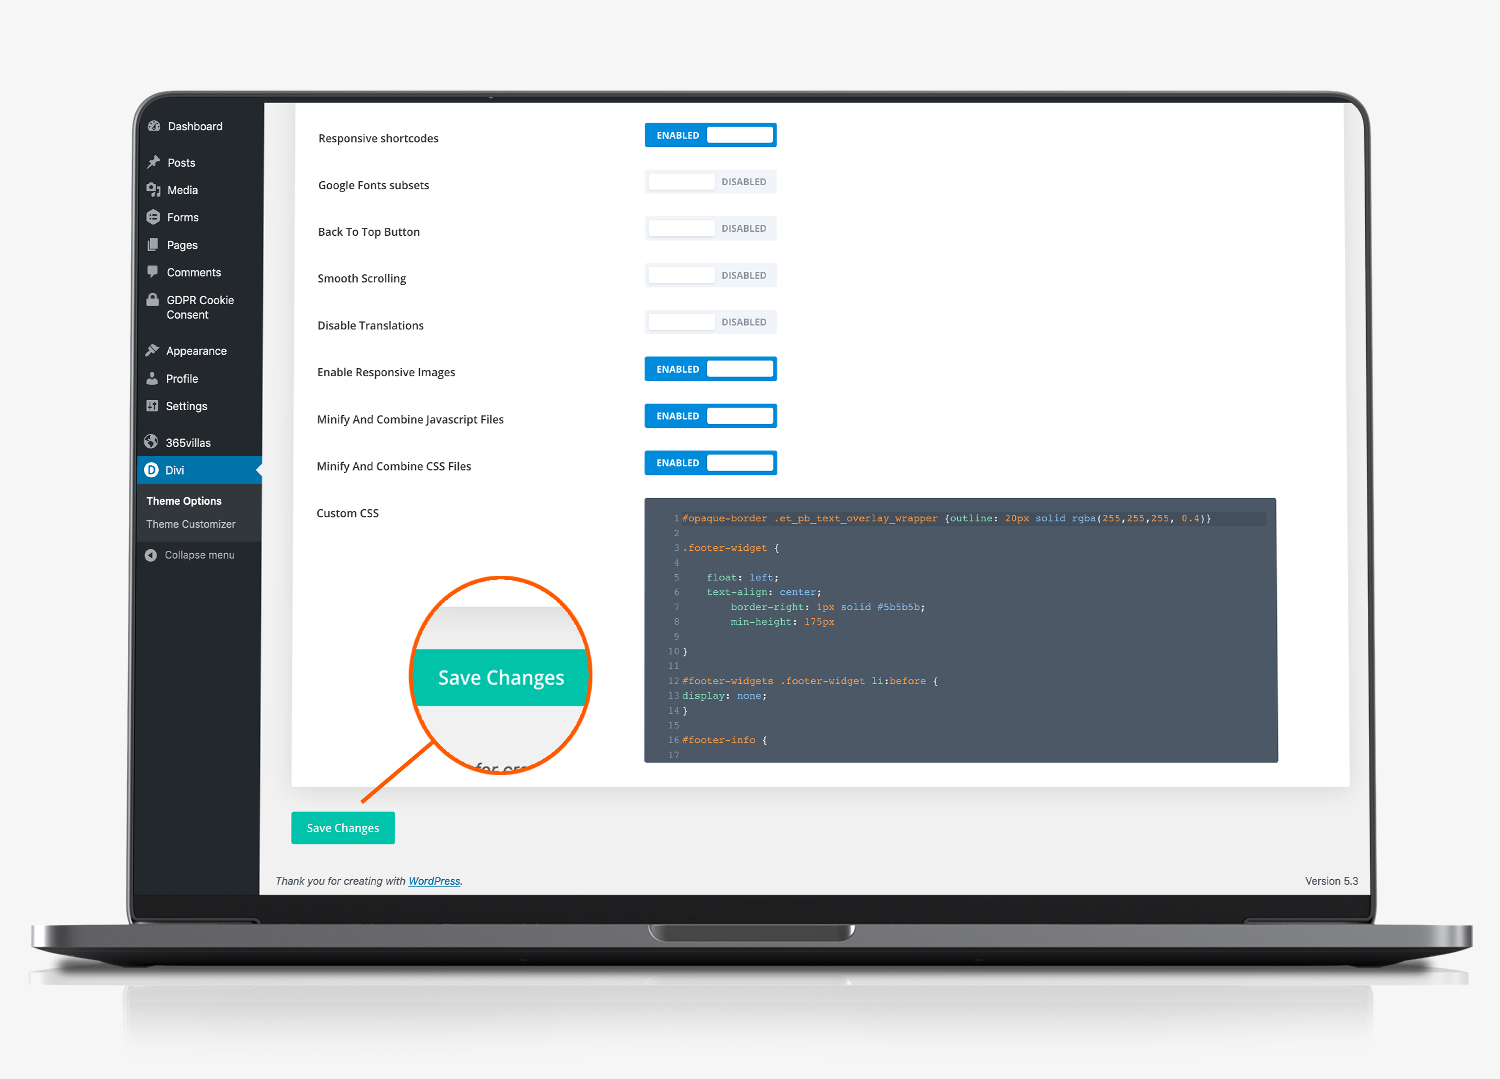
Save Settings

When you have selected the logo, scroll to the bottom of the ‘General’ tab and click save.
Replacing The Homepage Banner Logo In WordPress
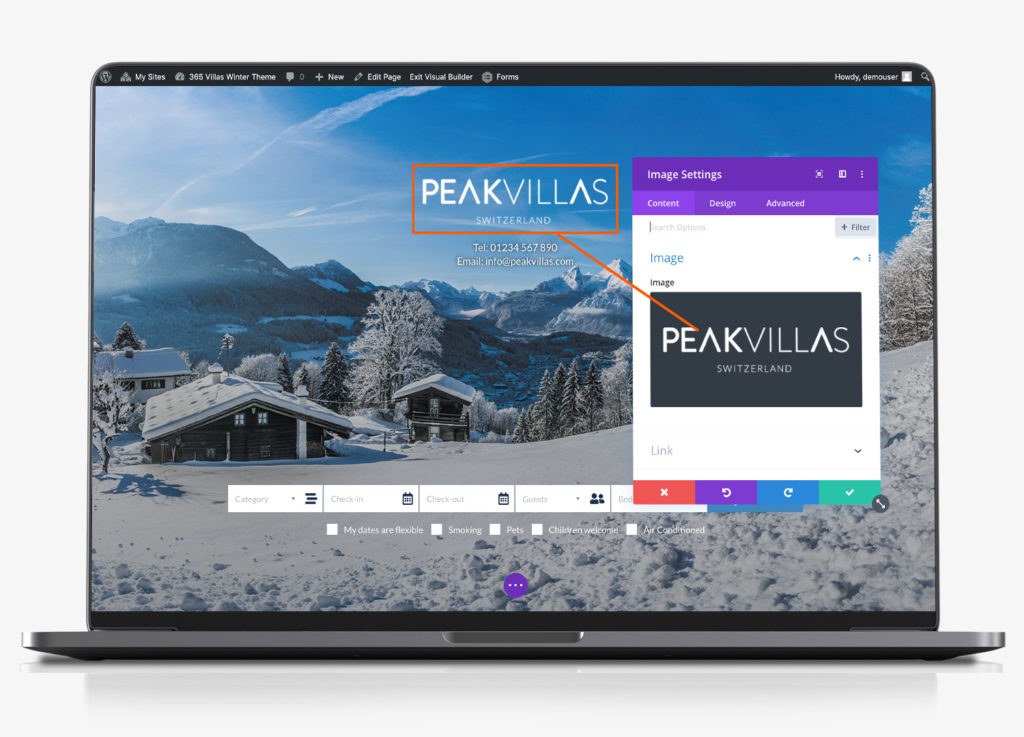
The logo on the homepage of your website, is managed by editing the homepage of your website using the DIVI editor. When you click to edit your homepage, click to ‘edit with the divi builder’. Hover your mouse over the logo and click the gear icon to bring up the image settings editor.
Once the module editor has loaded, hover your mouse over the image and click the cog wheel to load the image library. Select the image you want to use instead. Tick the green tick to confirm the change.

Replacing the Footer Logo In WordPress
The footer logo forms part of the footer section of your website. Click here to read how to replace it
