Edit Reviews Page with Divi Builder
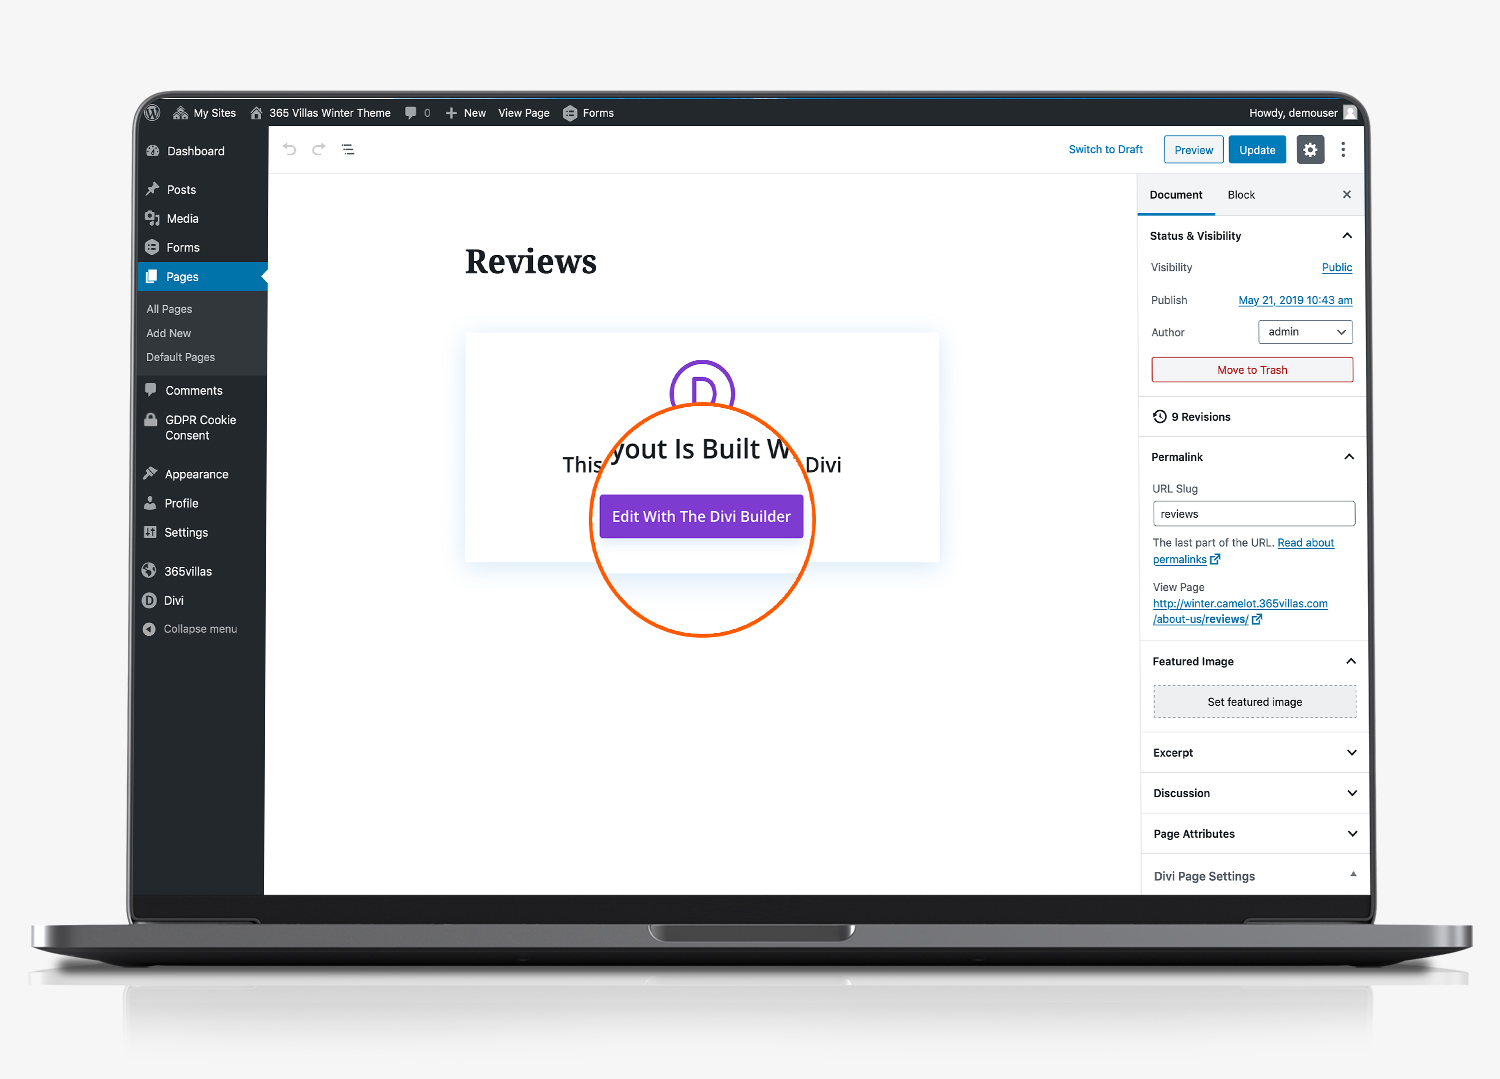
We automatically add property reviews that are collected from your 365 account. These display on the reviews tab under the property infirmation section for each individual property.
In addition, you can consolidate these into a separate review page that we have included within your website.
Navigate to the ‘reviews’ page from the pages menu in the left hand menu in your website’s content management system. Click ‘edit with divi’.
Select Review Module Settings
We have included a small number of default reviews which you can edit. Hover your mouse over the review you want to edit. Click the black gear icon to bring up the ‘testimonial settings’ module editor.
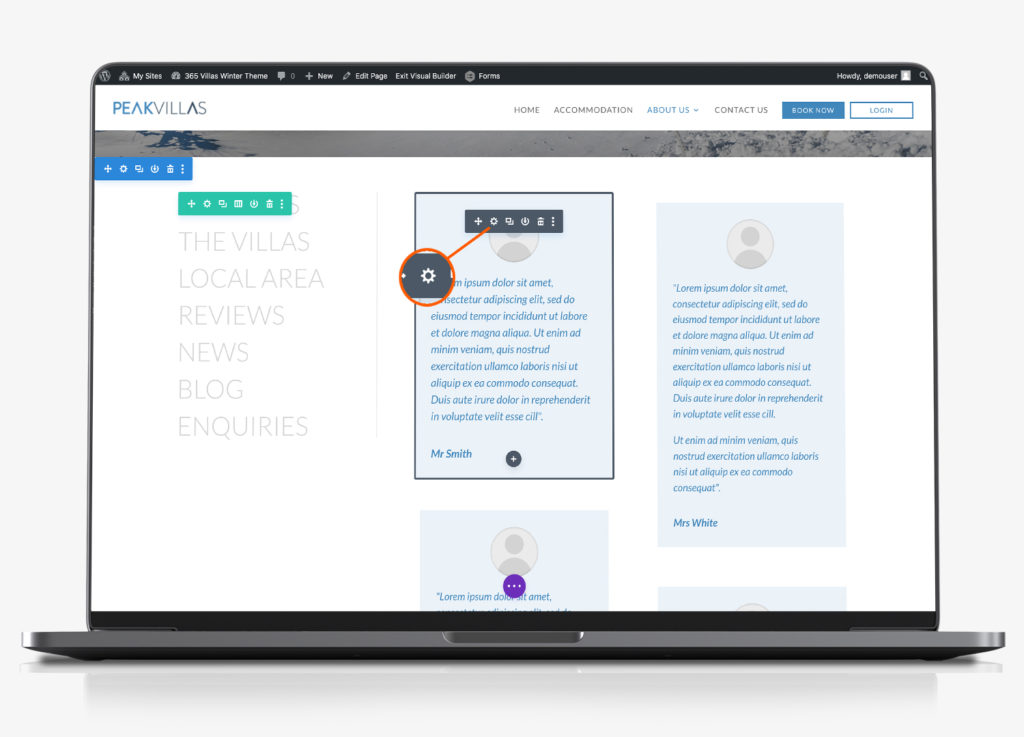
You can add the following fields, or leave a field blank and it will not display.
- Author – leave blank to exclude
- Job title – leave blank to exclude
- Company – leave blank to exclude
- Body – add the testimonial text here. Edit the content between the speech marks.
Select Image Tab to edit Profile Photo
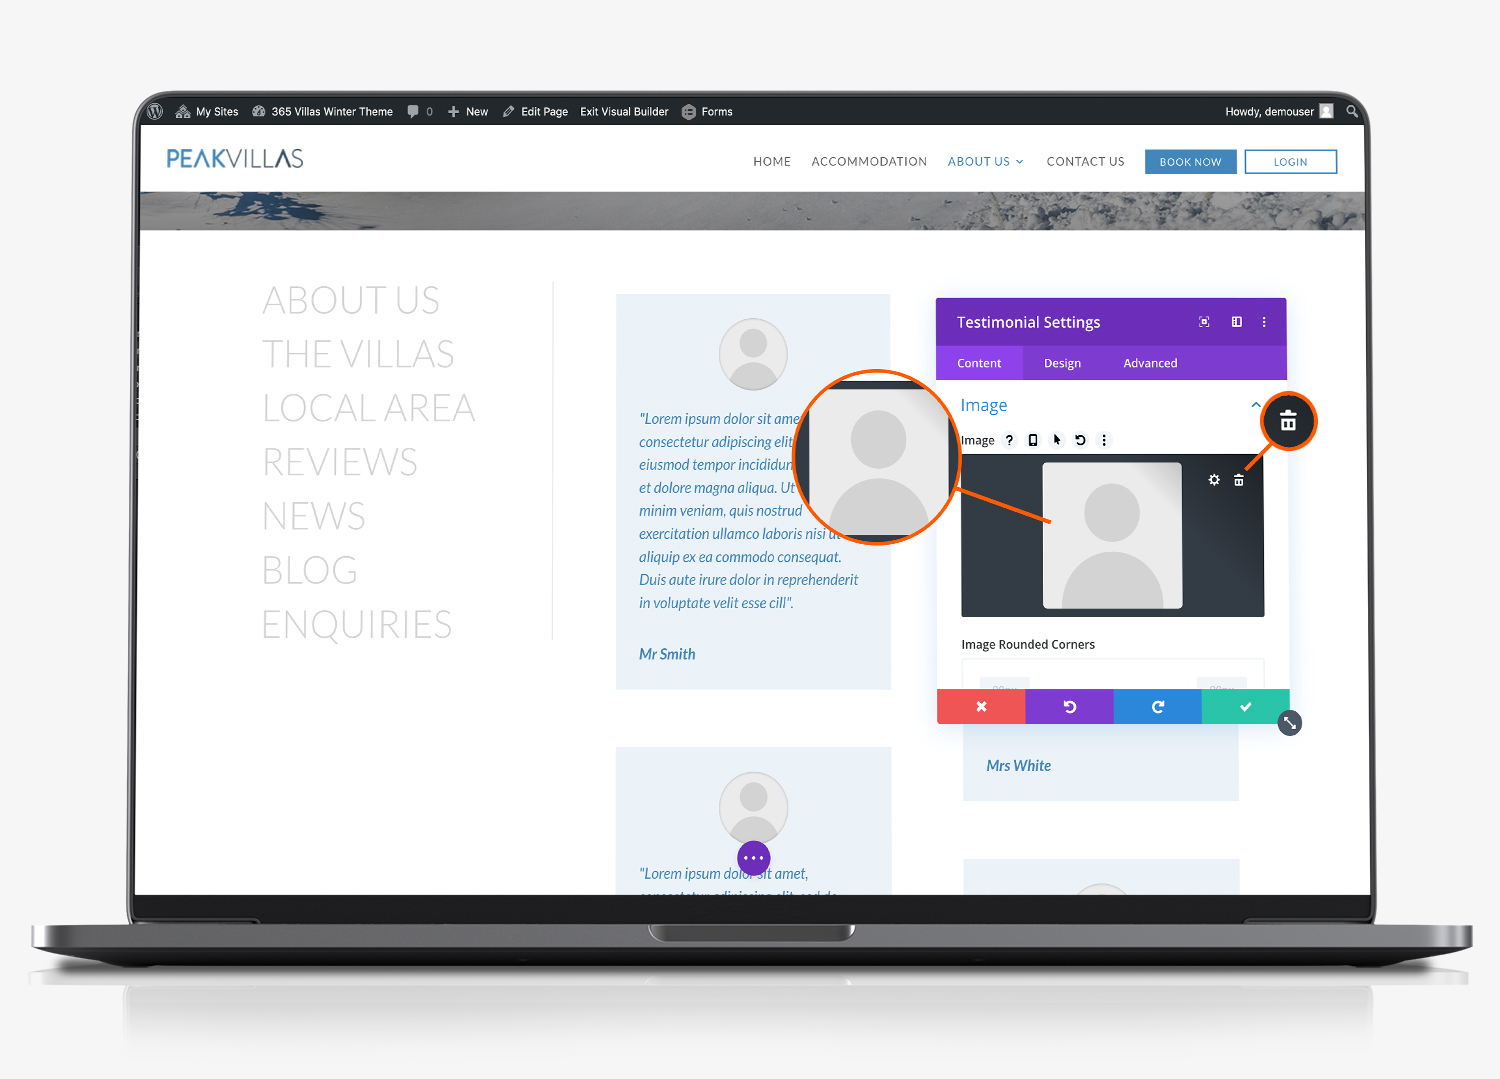
Scroll down within the module editor box and expand the ‘image’ section. Click the default image to load the media library where you can select or upload an image to accompany the testimonial. Optionally change the image rounded corners, image border styles and other settings associated with the testimonial image.
Scroll down further and under elements, you can choose whether to display a styled quote icon. add a link url to the testimonial and change the background colour
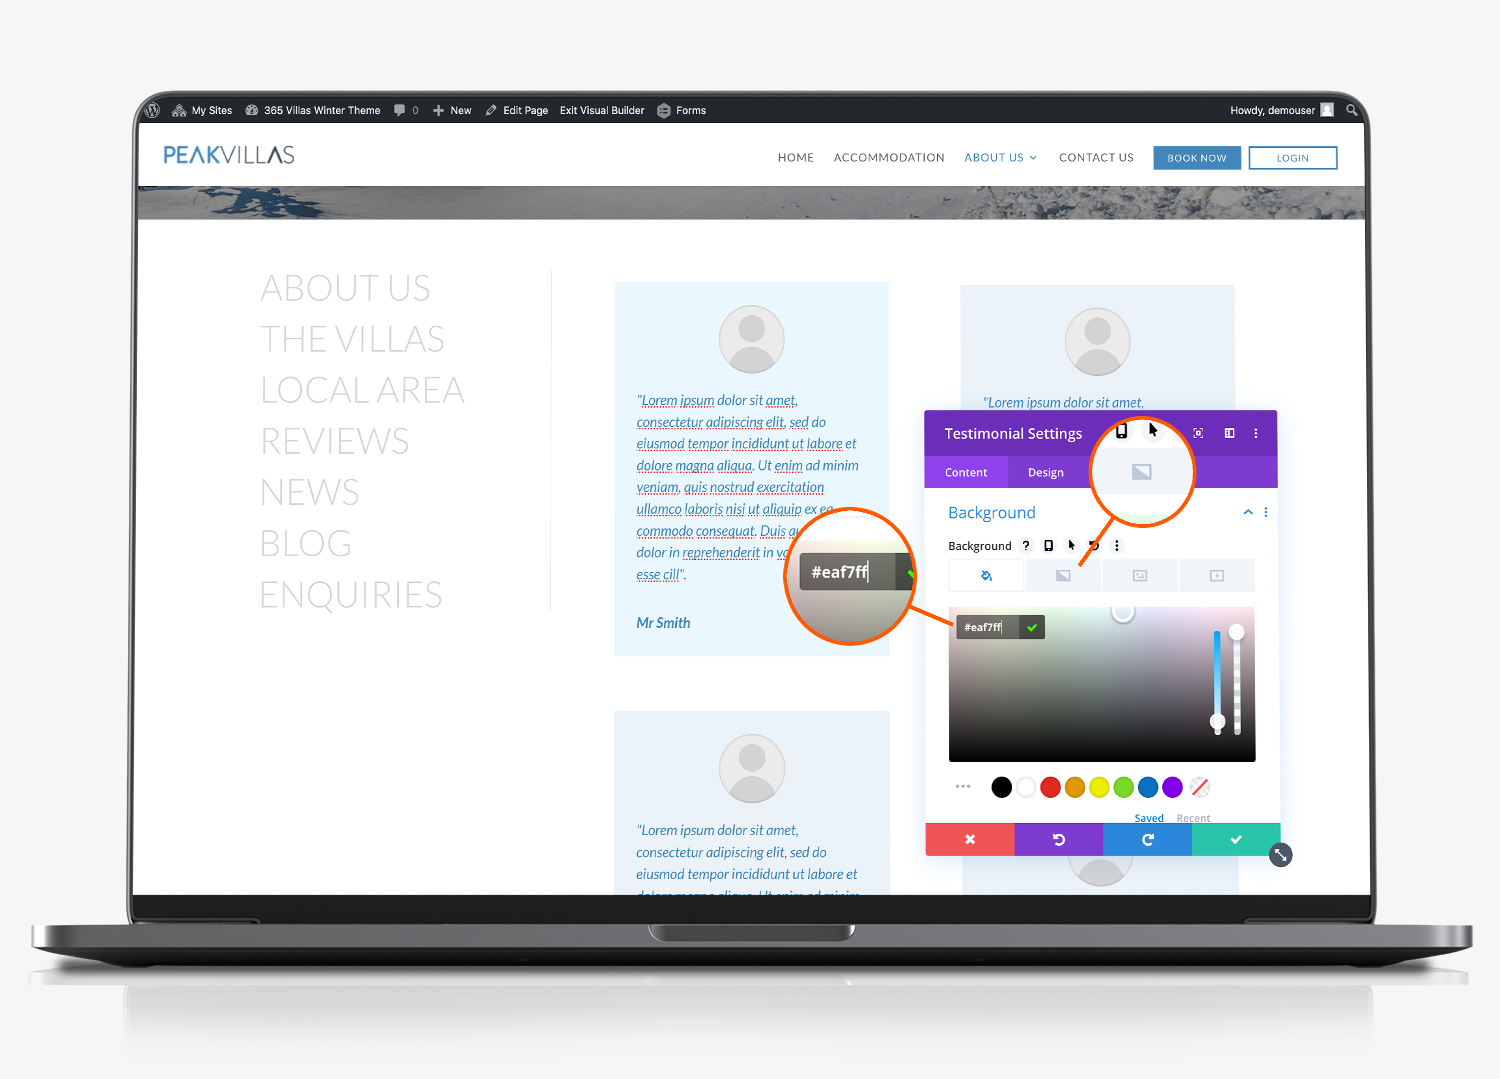
Select the paint bucket tab (firs one) to change the rgba colour reference of the testimonial background colour. To read more about rgba colours click here.
Add Review (duplicate)
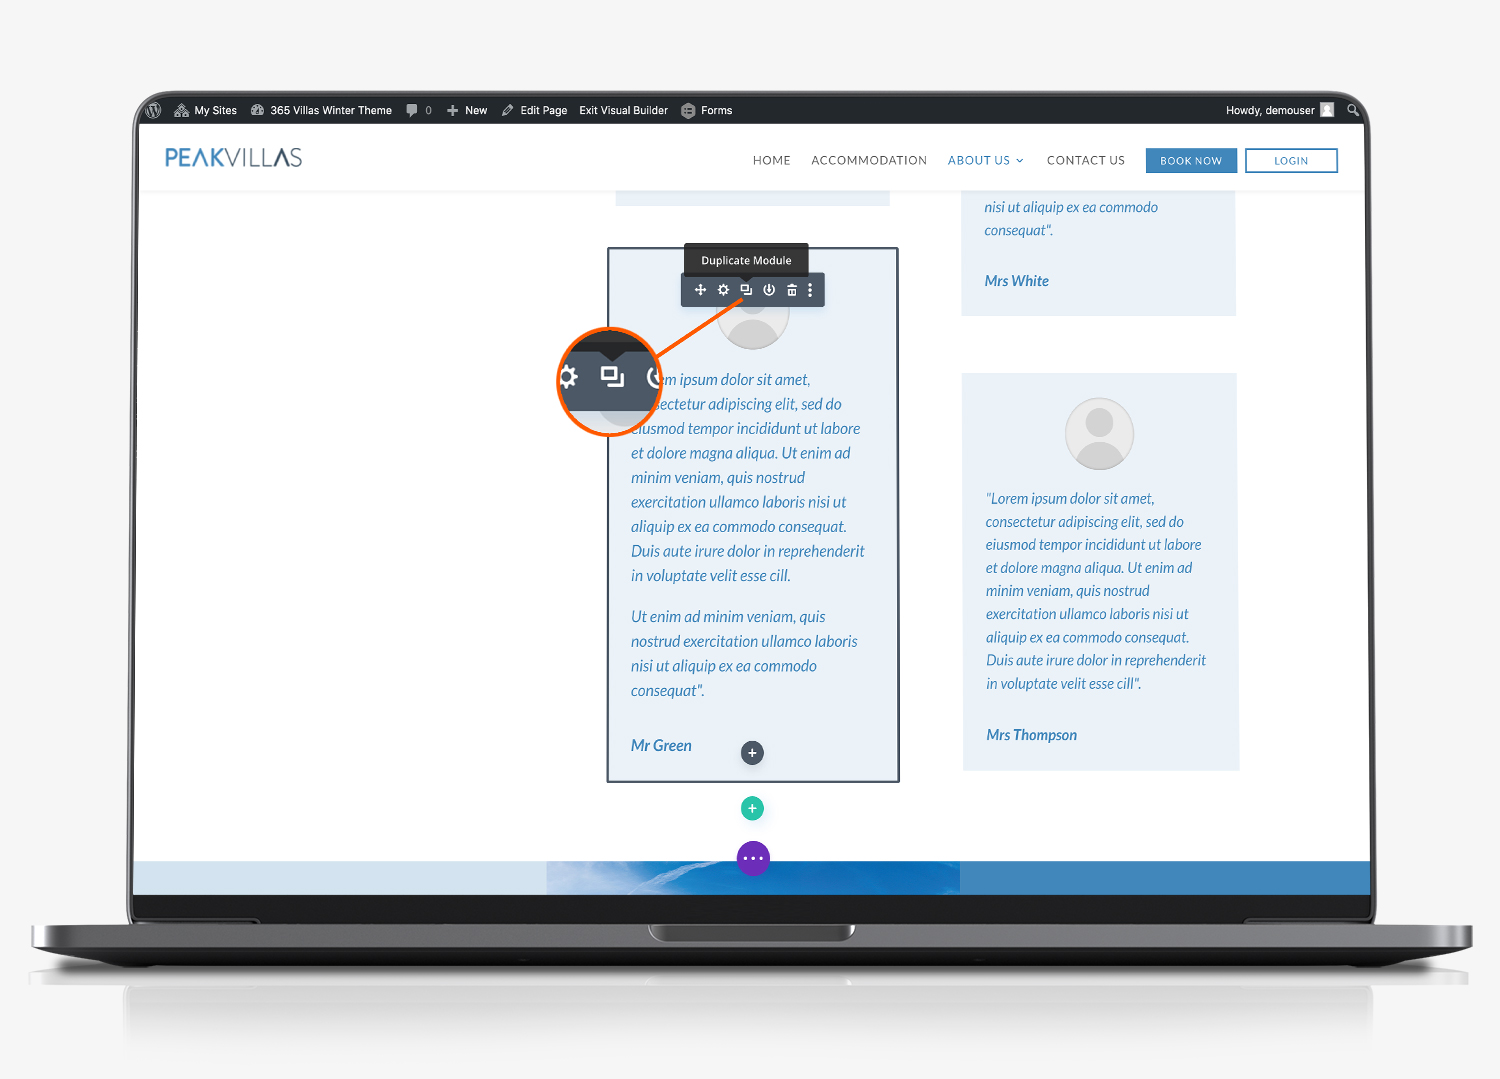
To create a new review start by cloning an existing one. Hover your mouse over the review that you want to clone and in the black module editor click the duplicate module icon.
As with any page that you are editing, be sure to click the purple circle at the footer of the page and then click the green ‘save’ button on the righthand side.
