Edit Background Banner Images
To edit a page start by selecting ‘pages’ from the left menu in your content management system. However above the page you want to edit and select ‘edit with Divi’. This will load the visual page editor.
Full width banners are set as background images on the section settings editor. To read more about sections, rows and modules within Divi click here.
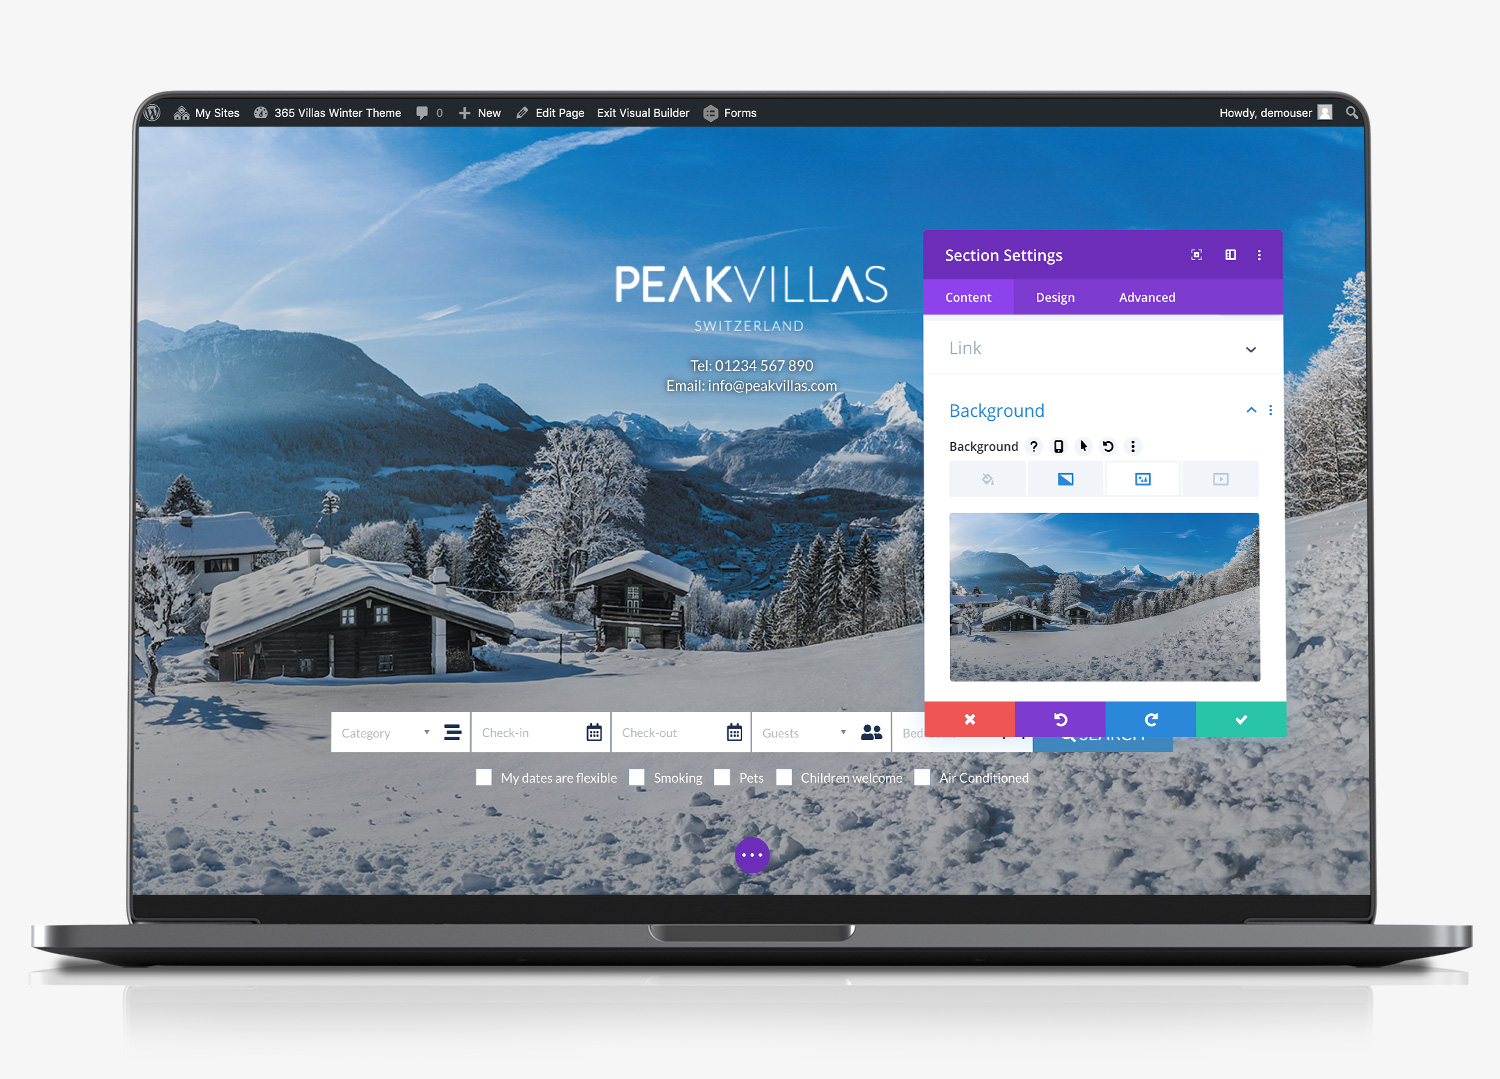
Hover your mouse over the image and select the outer (highlighted blue), cog wheel. This enables you edit the section settings. Expand the background section and you will see the background image that has been used. To change the image, hover your mouse over it (the image) and click the cog wheel that appears on the top right of the image. This loads the media library for your website.
Select from Media Library
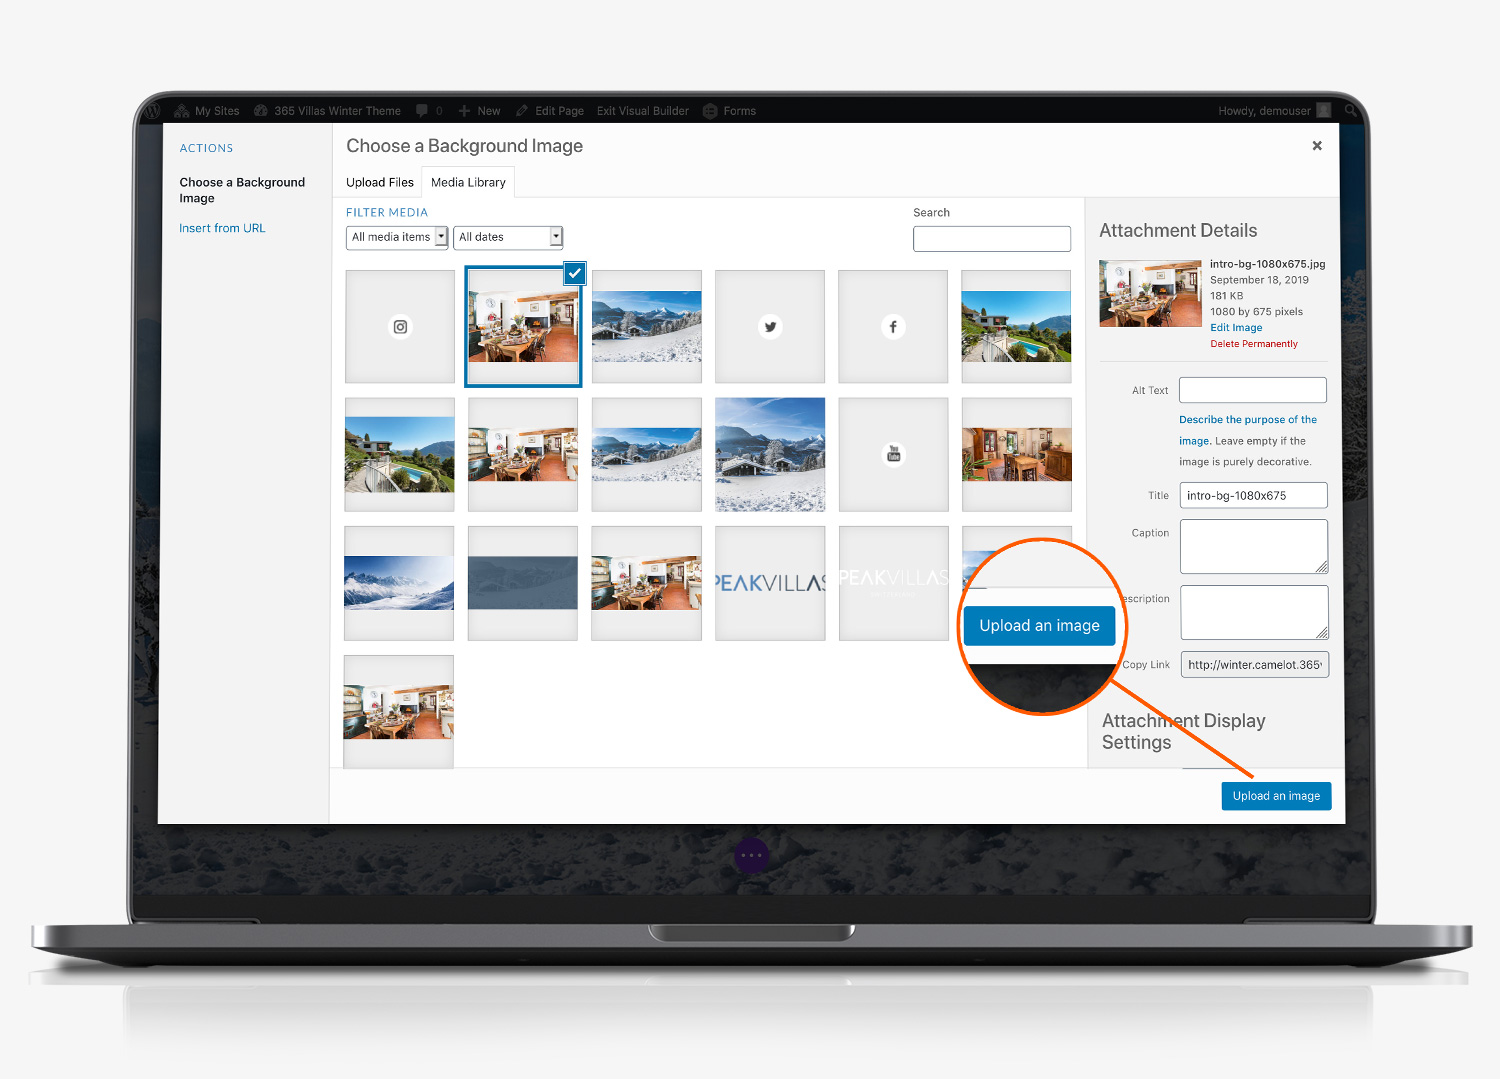
Select (or upload) the image that you want to use instead. For large background images we recommend that the image you choose is 1600 to 2000 pixels wide. Anything larger than this will be slow to load. If you don’t have any photo editing software there are free online tools you can use such as PIXLR, owned by Google.
Confirm image Choice
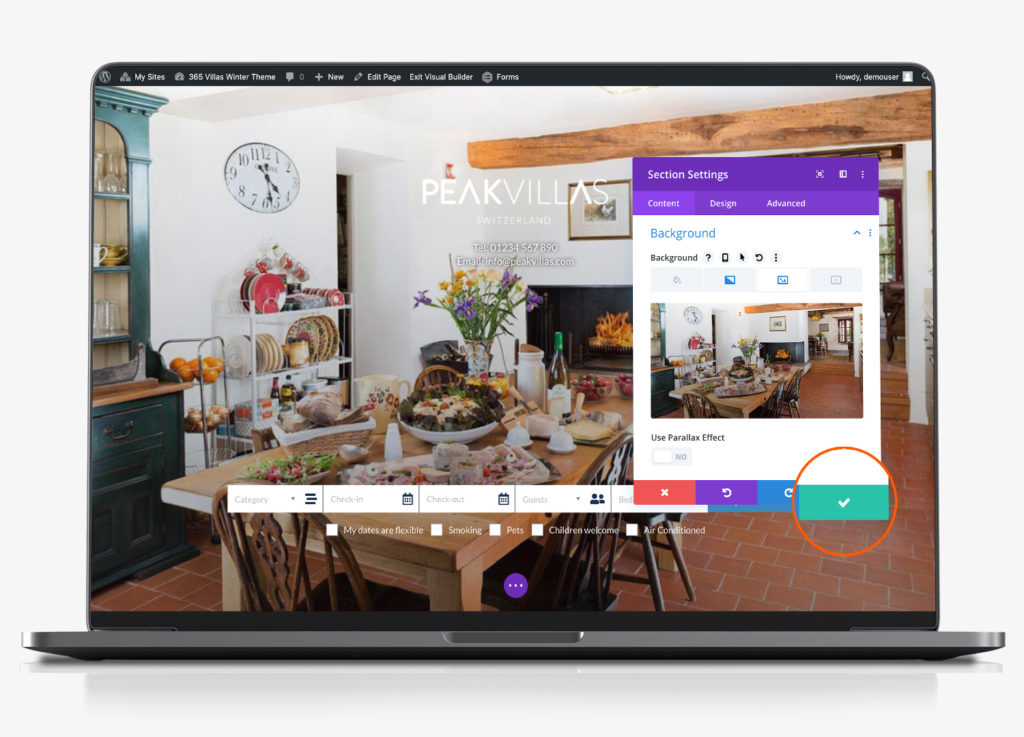
Once you have loaded your new background image, click the tick box, to confirm your choice.
Video Banners
As an alternative to inserting an image banner. Follow the steps above, but instead of inserting an image, click the blue text below which says ‘insert from URL’.
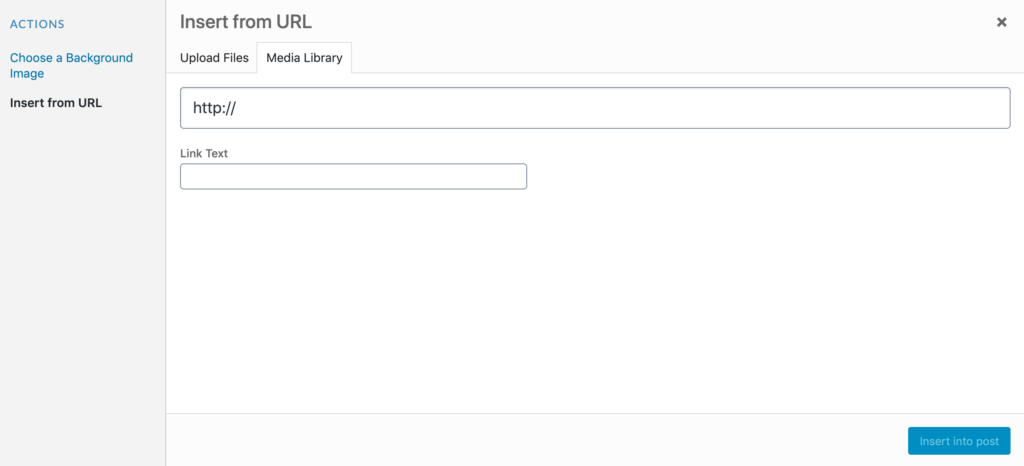
Paste into ‘http://’ box the full URL for the YouTube or Vimeo video that you want to insert (you will need to have uploaded the video to YouTube or Vimeo first). Click insert into post and don’t forget to click to ‘save changes’ (green tick) and to save the page (purple circle at the footer of the page, click to expand and then click save).
Edit Image Modules
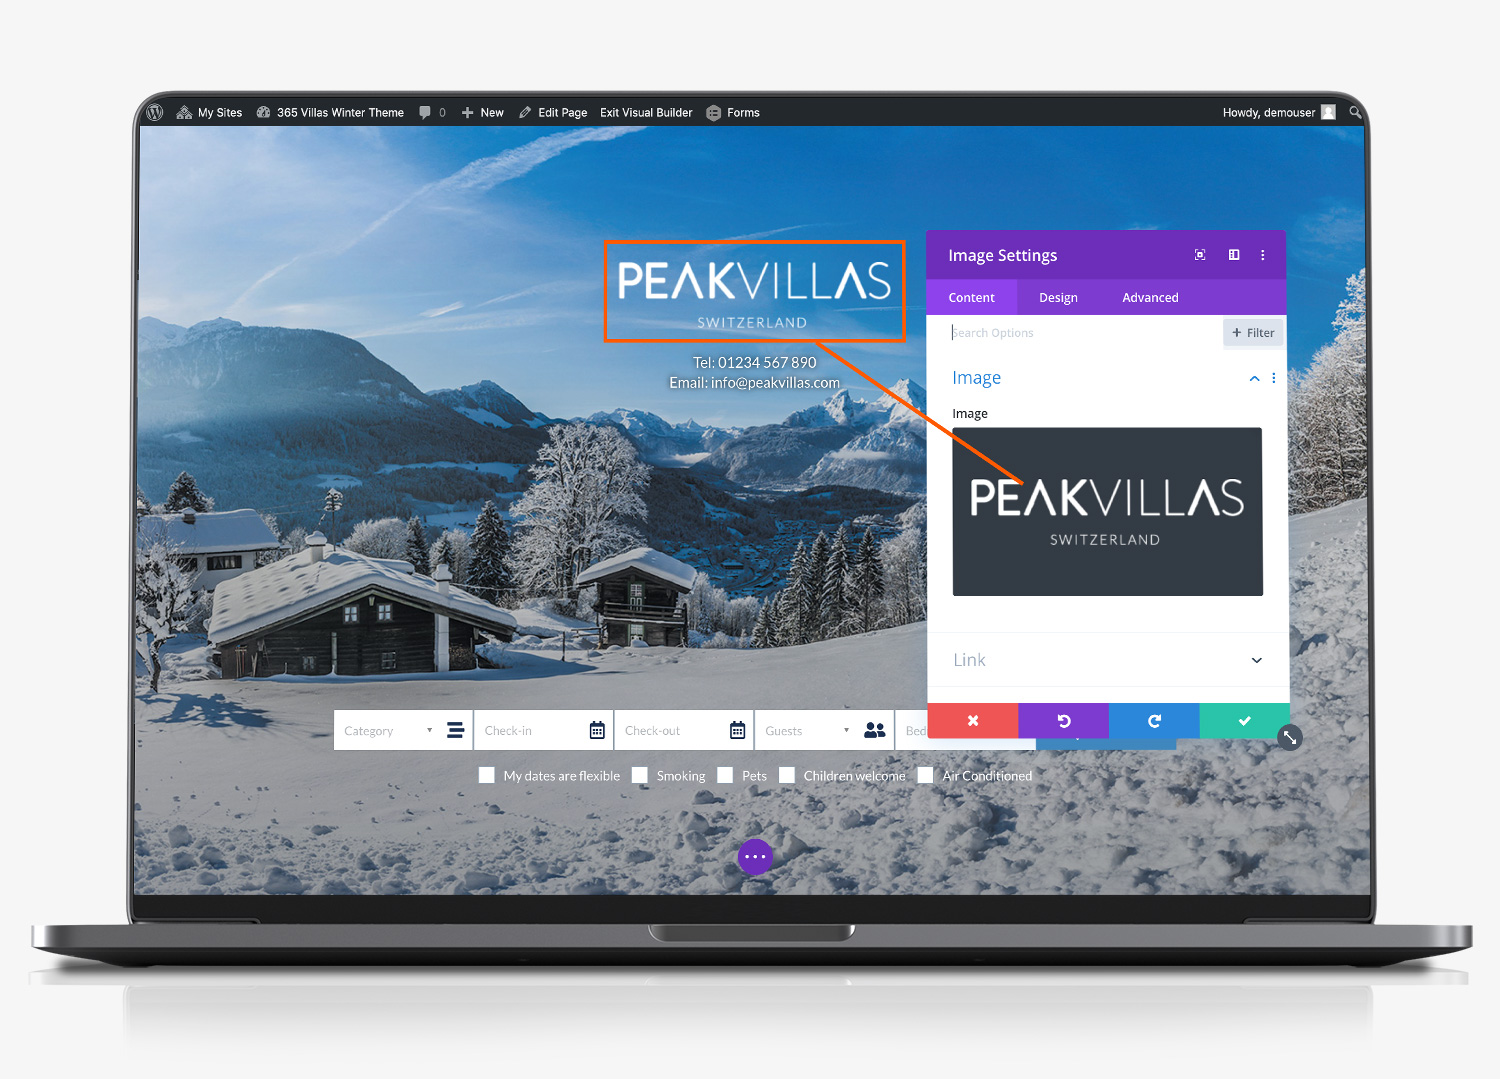
Smaller images, such as the logo on the homepage of your website, or images contained with the about us section of your website are managed at a module level. Hover your mouse over the image and select the black cog wheel to manage the image settings.
Once the module editor has loaded, hover your mouse over the image and click the cog wheel to load the image library. Select the image you want to use instead.
Edit Slider Banners
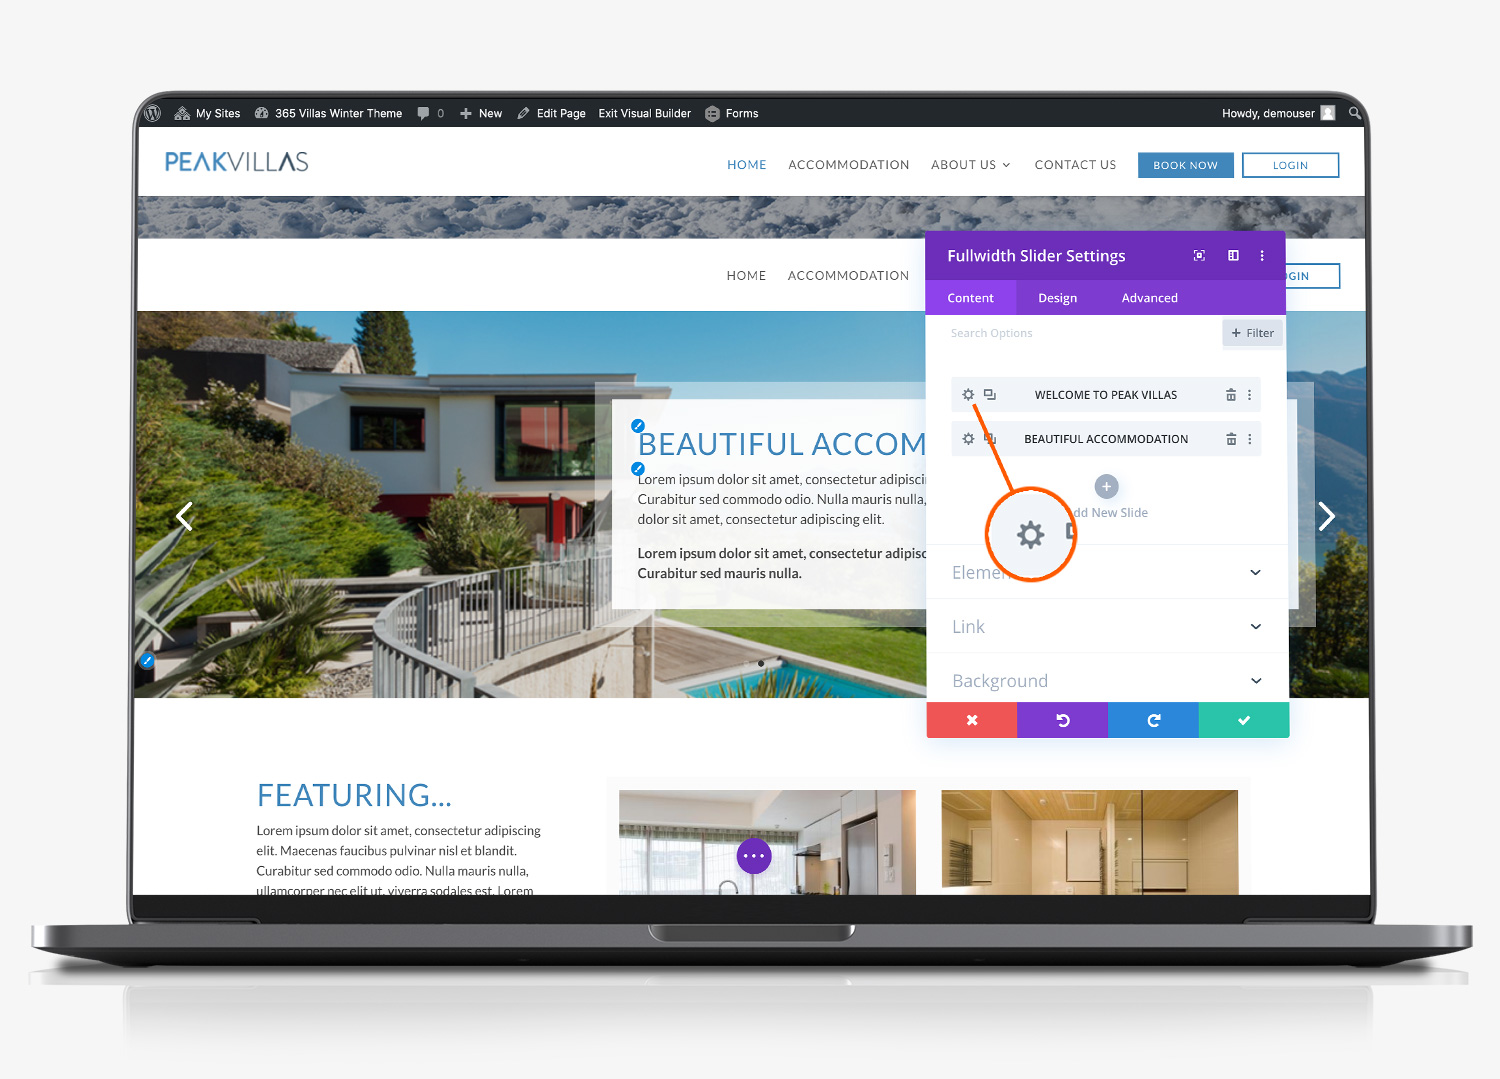
On the homepage, you have a section which includes a slider banner with a text box over it. Whilst this section includes full width images, this is actually a module. To edit it, hover your mouse over the section and select the black cog wheel for the module.
By default, the module has two sliders. You can add more by clicking the ‘+’ add new slide link. Select the cog wheel next to the slider you want to edit. You can now edit the following sections for each slider:
- Slider title
- Button title (if you want to add one)
- Body text of the slider
- Scroll down further and you can also edit the background image
Background Image
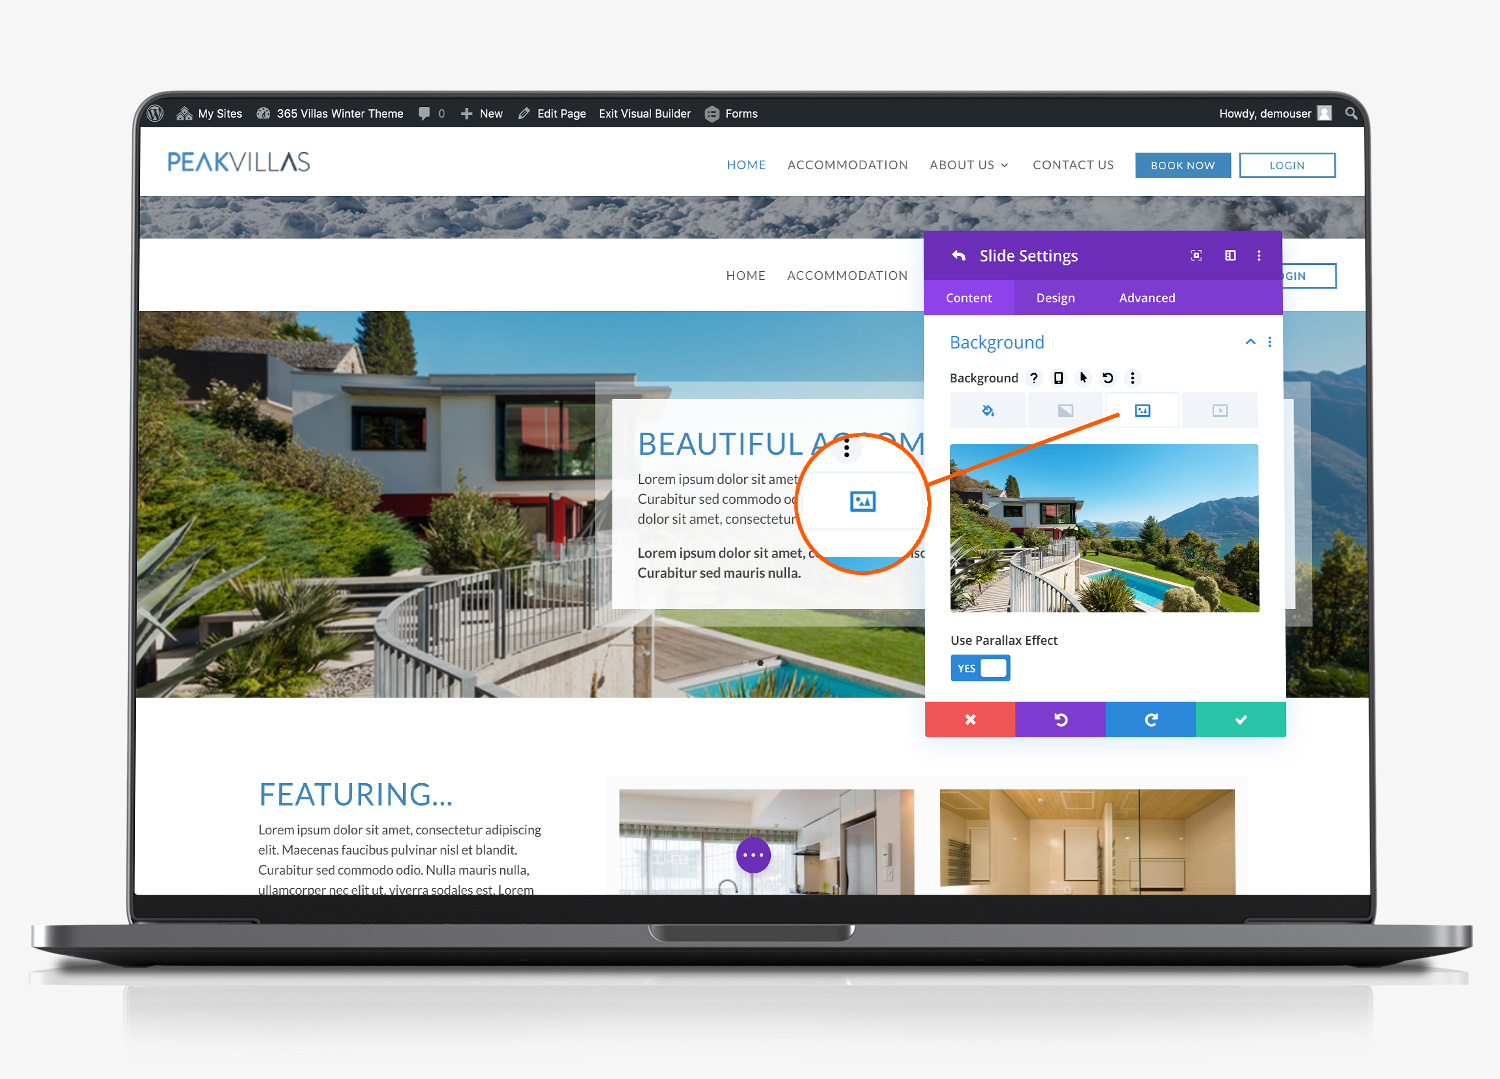
Below the text section you will see the following:
- Images and video. In this theme, we are not using this setting. If you did select an image or video here, it would replace the text box over the slider.
- Link. If you want to apply a hyperlink to the slider, eg to link to a particular page on your website, add the URL-slug to the ‘Module Link URL’. If you are linking to an external website, you will need to include the full page url eg https:// etc.
- Background. As the slider in your theme is full width, within this module it is controlled as a background image. Click the arrow to expand the background selection and selection the image icon to see the background image. Hover over the mage and click the cog wheel to select (or upload) the image from the media library that you want to use.
