How to Create & Install A Facebook Pixel On Your Camelot Website Theme. In this article, we’ll cover how to create & install a Facebook pixel on your Camelot website. To learn more about the Facebook pixel, take a look at this article by Facebook: benefits of installing a Facebook pixel.
Create a Facebook pixel
- Go to your Pixels tab in Events Manager.
- Click Create a pixel.
- To finish creating your pixel, click Create in the box that appears.

Add the Facebook pixel to your website
Once you’ve created your pixel, you’re ready to put the Facebook pixel code on your website.
First copy the Pixel Code in Facebook:
- Go to the Pixels tab in Events Manager.
- Click Set up pixel.
- Click Manually install pixel code yourself.
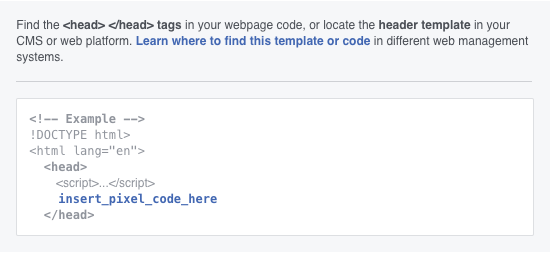
- Copy the code:. It will look something like this:

Now Add the code to your website:
- Click Divi in the side navigation of your website’s content management system
- Select Divi Theme Options
- Select Integration
- Copy the entire code and paste it into the ‘Add code to the < head > of your blog’ dark grey box in the integration tab.
- Click the ‘save changes’ green button at the footer of the page tab
After you add the pixel base code to your website, you can set up events to measure the actions you care about, such as making a purchase.
Facebook provide a number of resources to help with this:
- How to manually installing the code
- How to use the point-and-click event setup tool.
- How to make sure that your pixel is working correctly.
Want to also install Google Analytics on your website? Read how to do that here.
