Add a new page
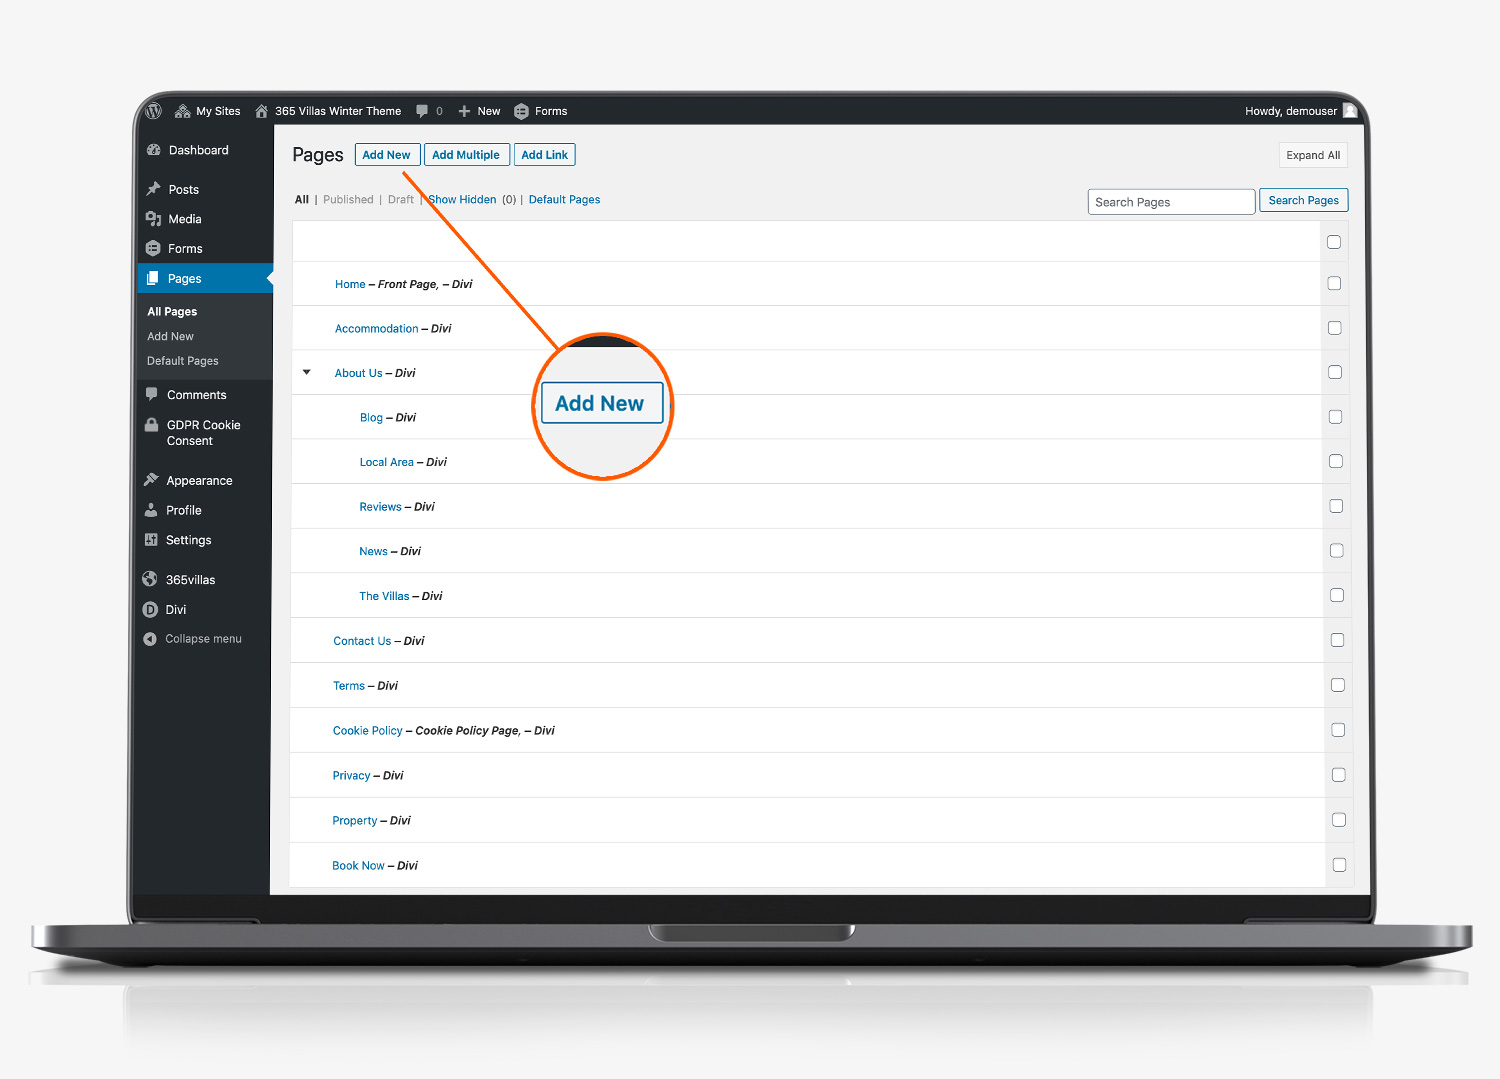
Select ‘pages’ from the lefthand menu in the content management system of your website. And then click ‘add new’.
Name/publish the page
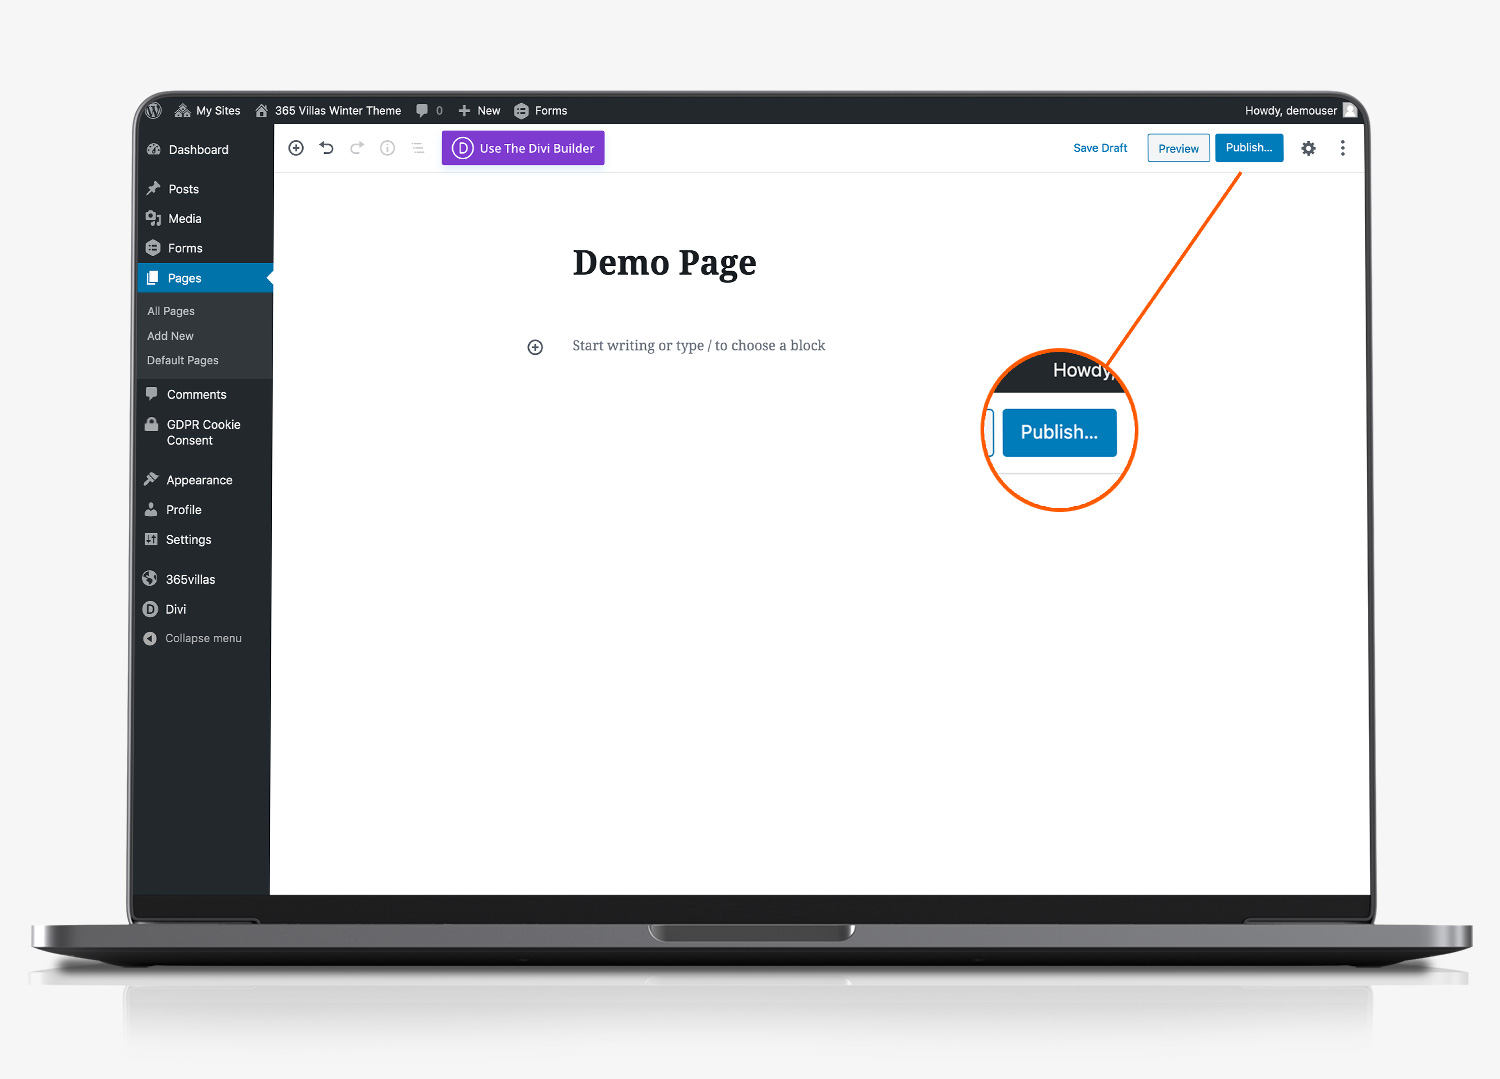
At the top of the newly created page is a text box (not easy to see if you don’t know what you are looking for! See below where we have titled the page ‘Demo Page’. Give your page a title and click ‘publish’. Don’t worry, the page will not be visible on the front end, until you link it into the menus of your website.
Edit Slug (optional) / Select Divi
Beneath the ‘publish’ button, select the document tab in the righthand column. From here you can set the url for the page. The permalink for the page, attractively called the url-slug! Is how you control the page address. For example if the url slug is about-us, the full address for this page on your website would be https://yourdomainname.com/about-us.
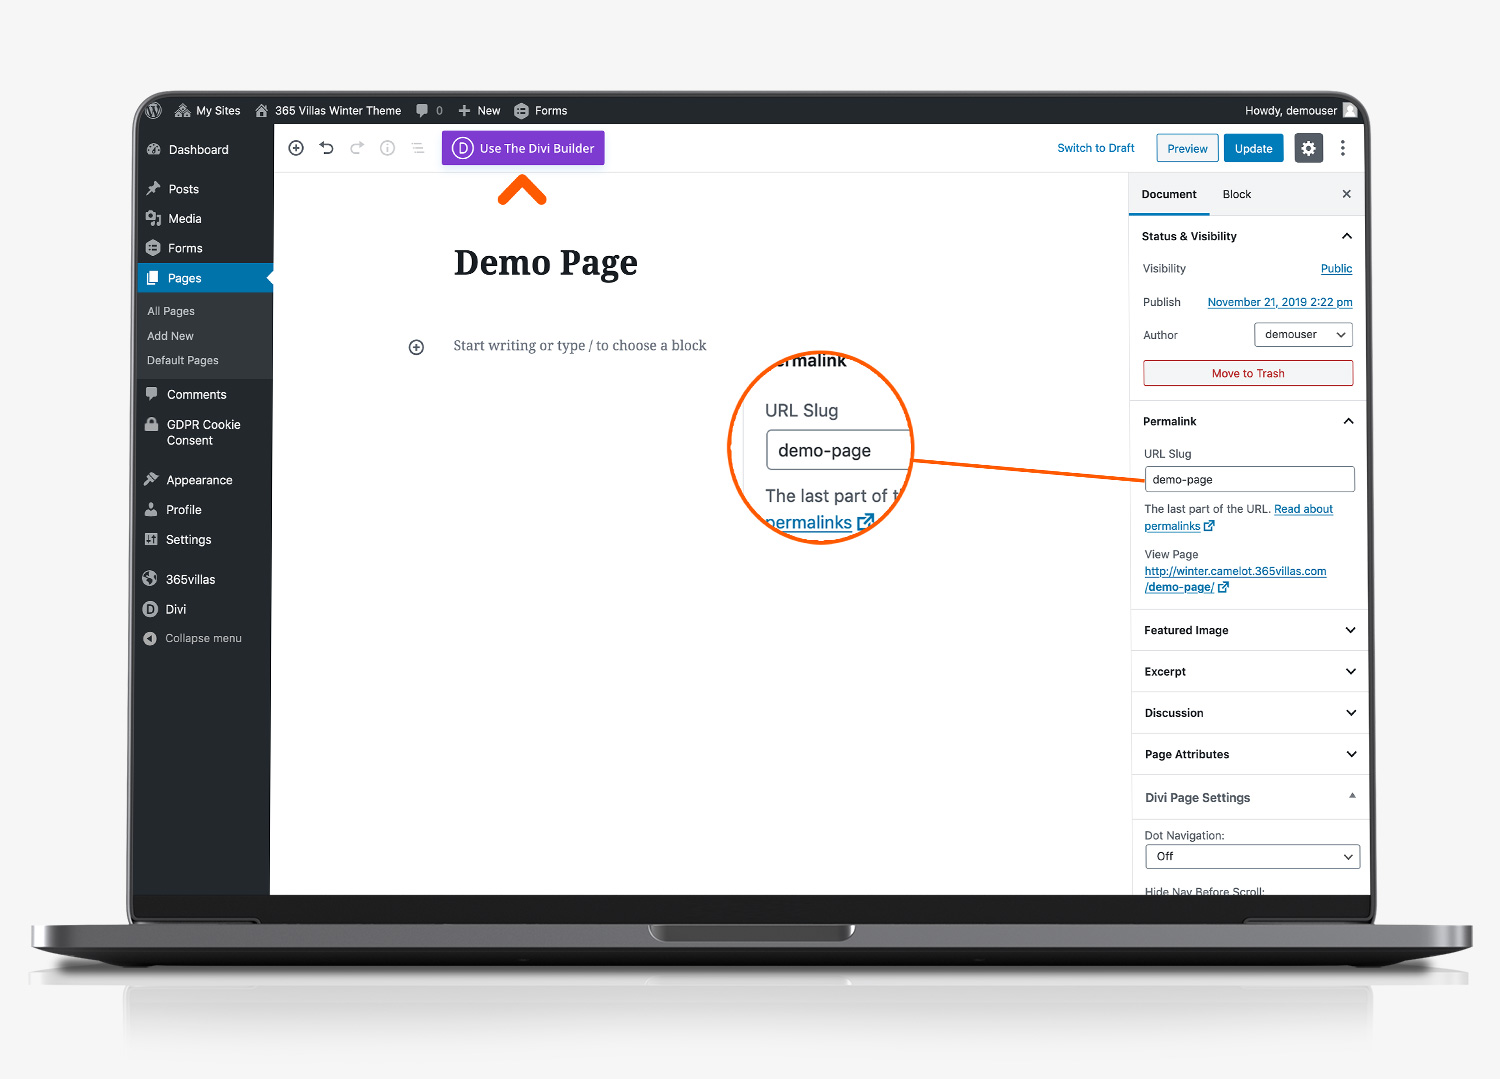
If you don’t set the slug, WordPress will use your page title to set one for you. If SEO (search engine optimisation) is important to you, we’d recommend ensuring your URL is keyword rich. Click ‘update’ when you have made any changes.
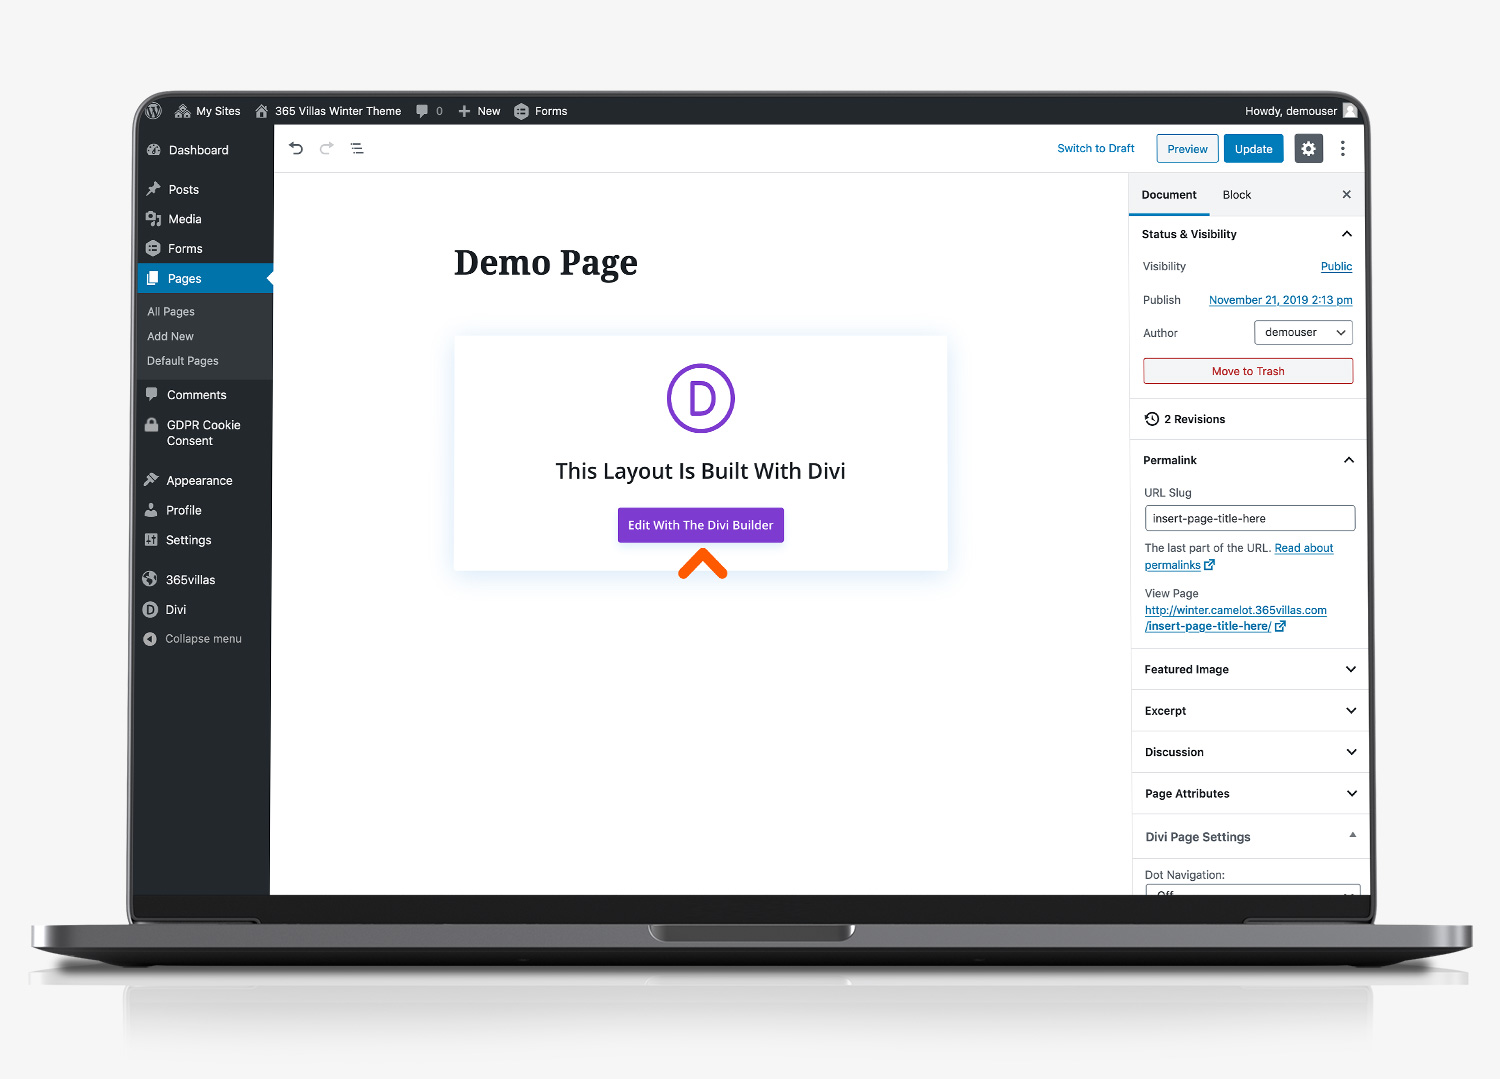
Select Build page with Divi
To edit the page content, use the inbuilt Divi Editor. Click the purple ‘Edit with the Divi Builder’ button.
Clone Existing Layout
When you create a new page, you have three options for getting started.
- You can build the page from scratch
- You can choose a pre-made layout
- You can clone an existing page.
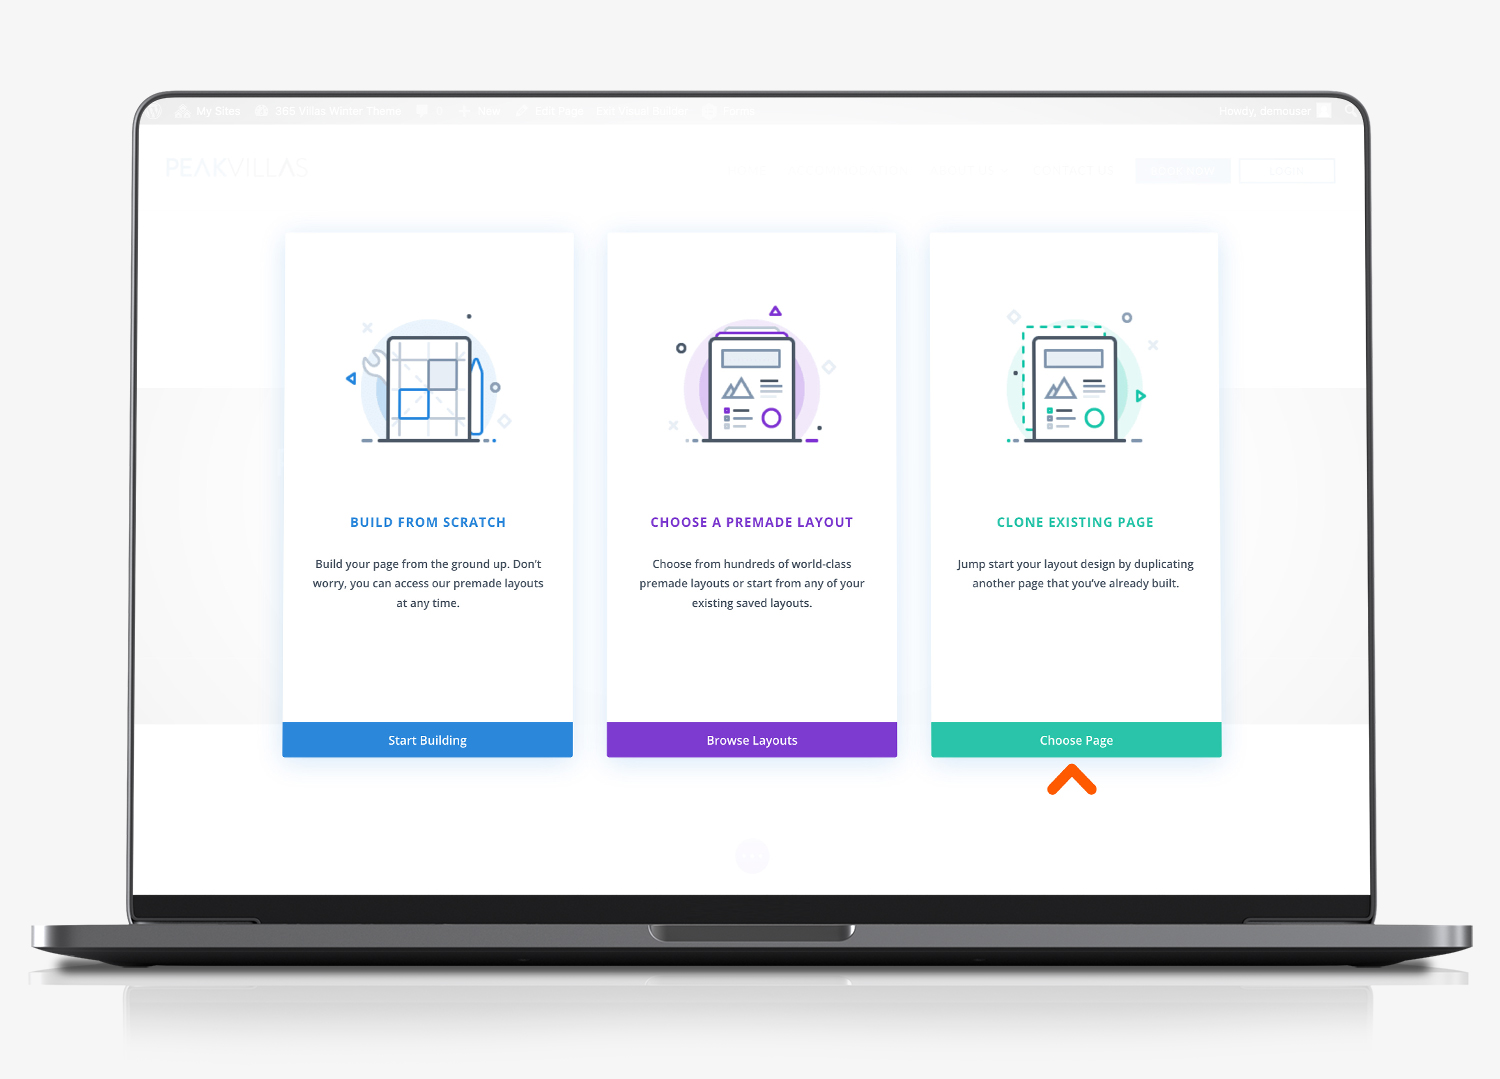
If you have an existing page on your website, that has a layout that will work for your new page, it will be easier to clone an existing page.
Click Start Building (appears first time only)
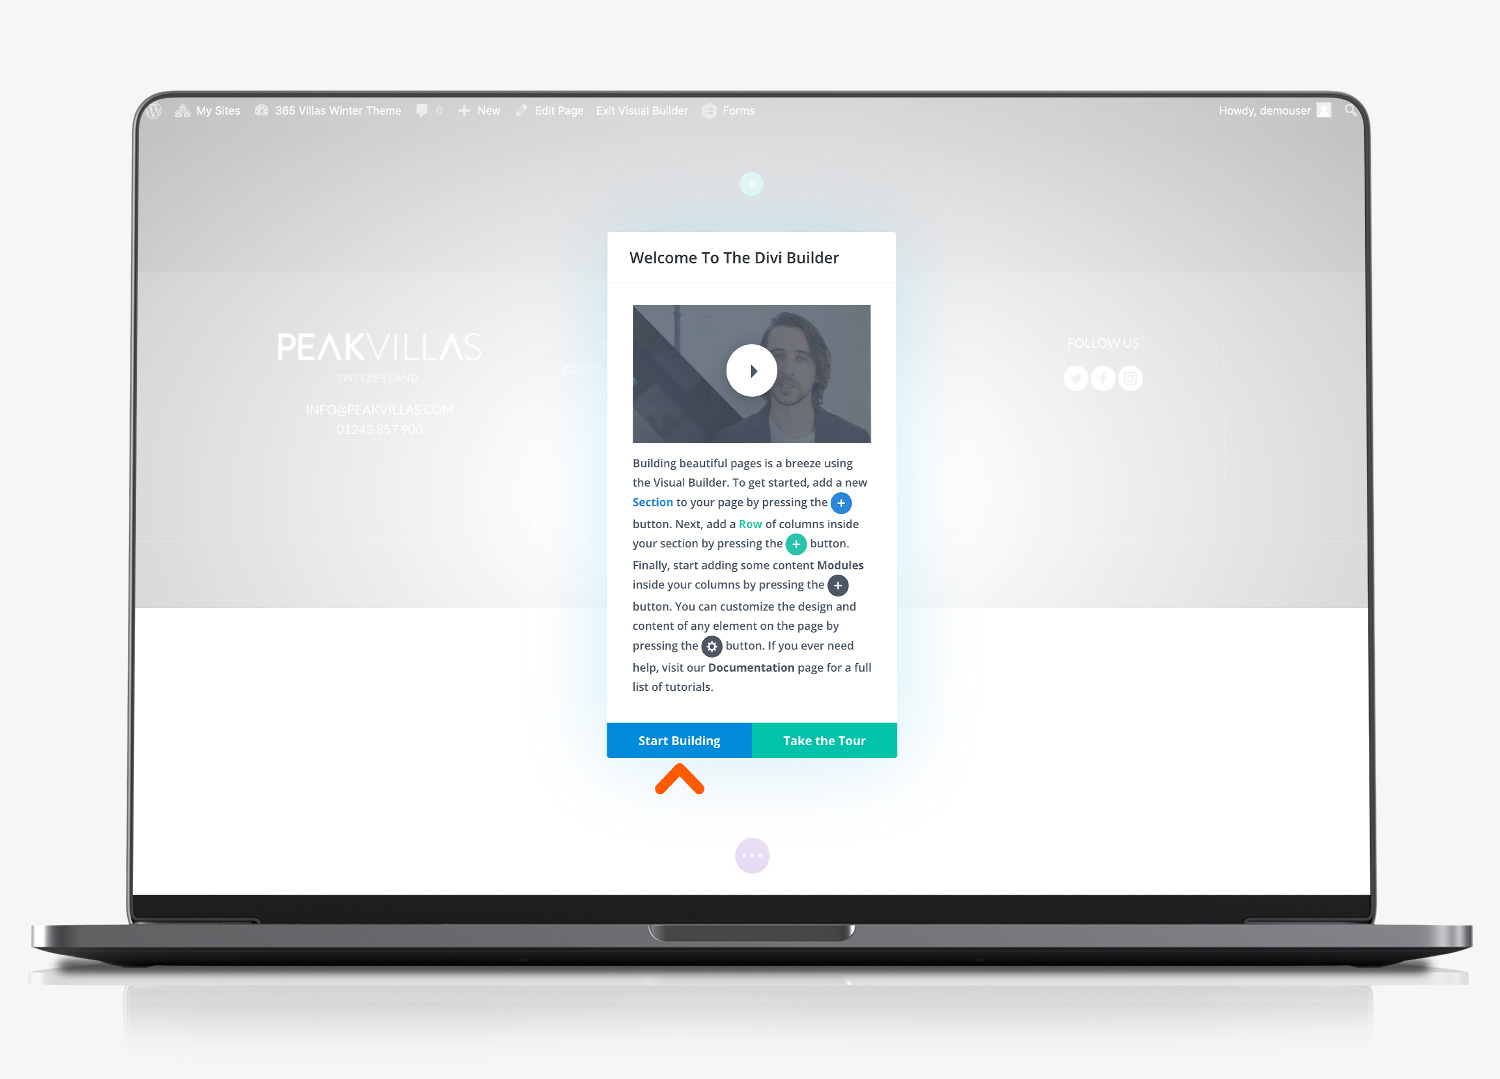
Choose the page you want to clone
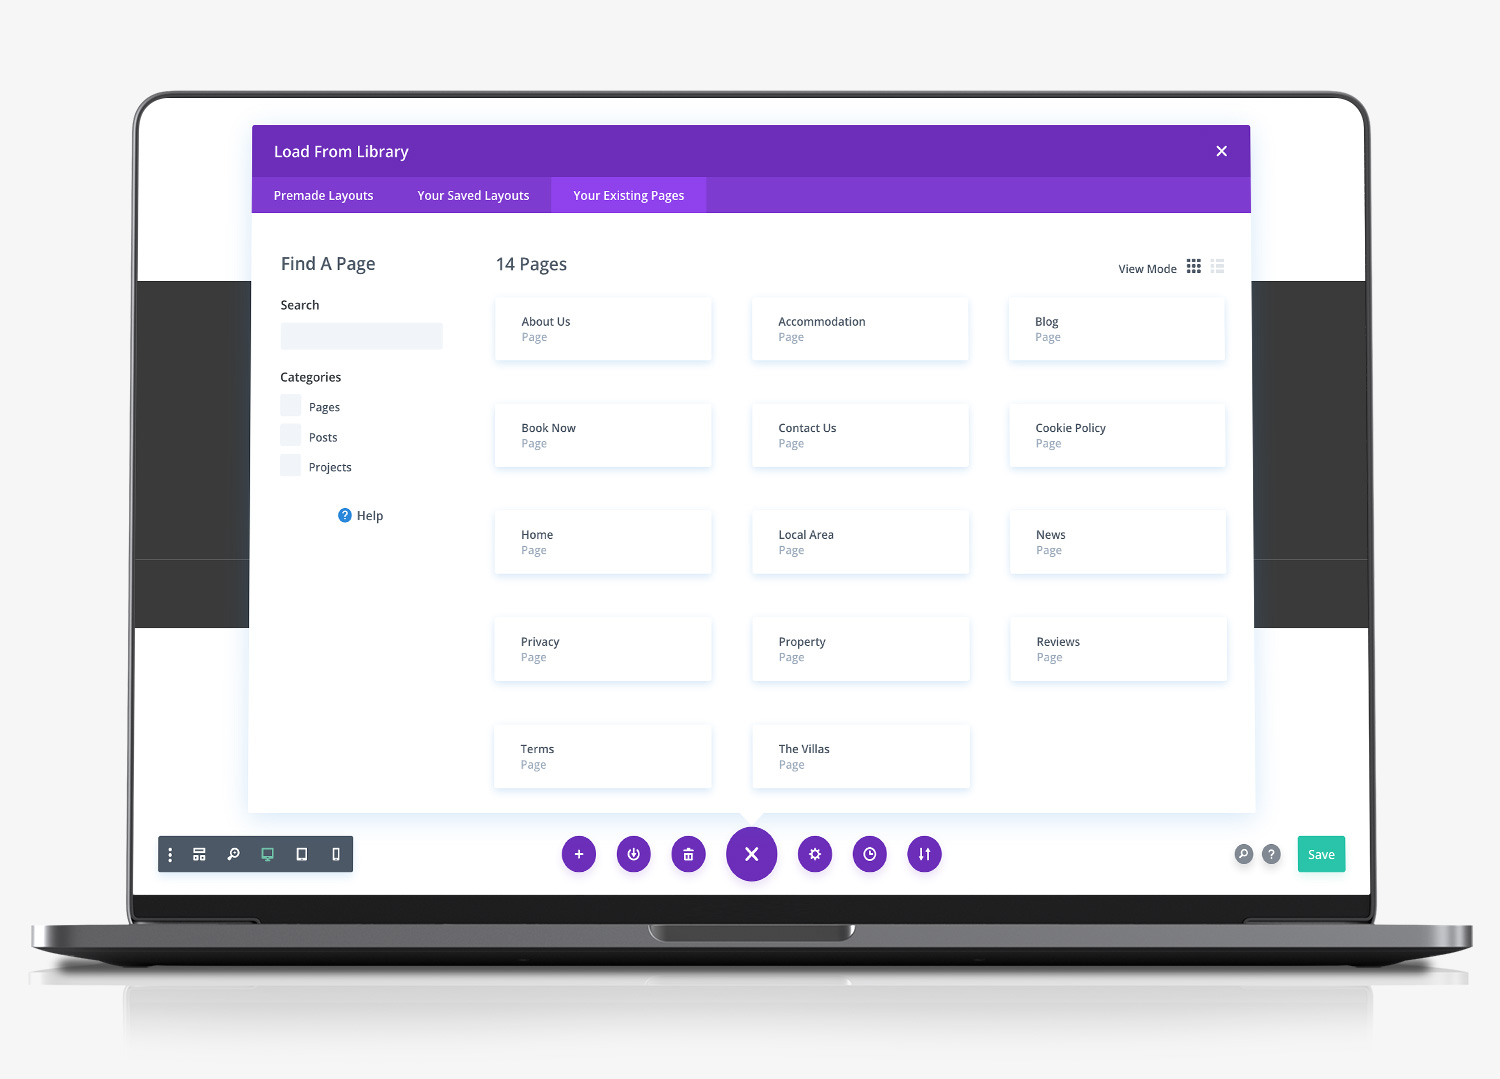
When you click the page you want to duplicate, it will load into the Divi editor, ready for you to edit.
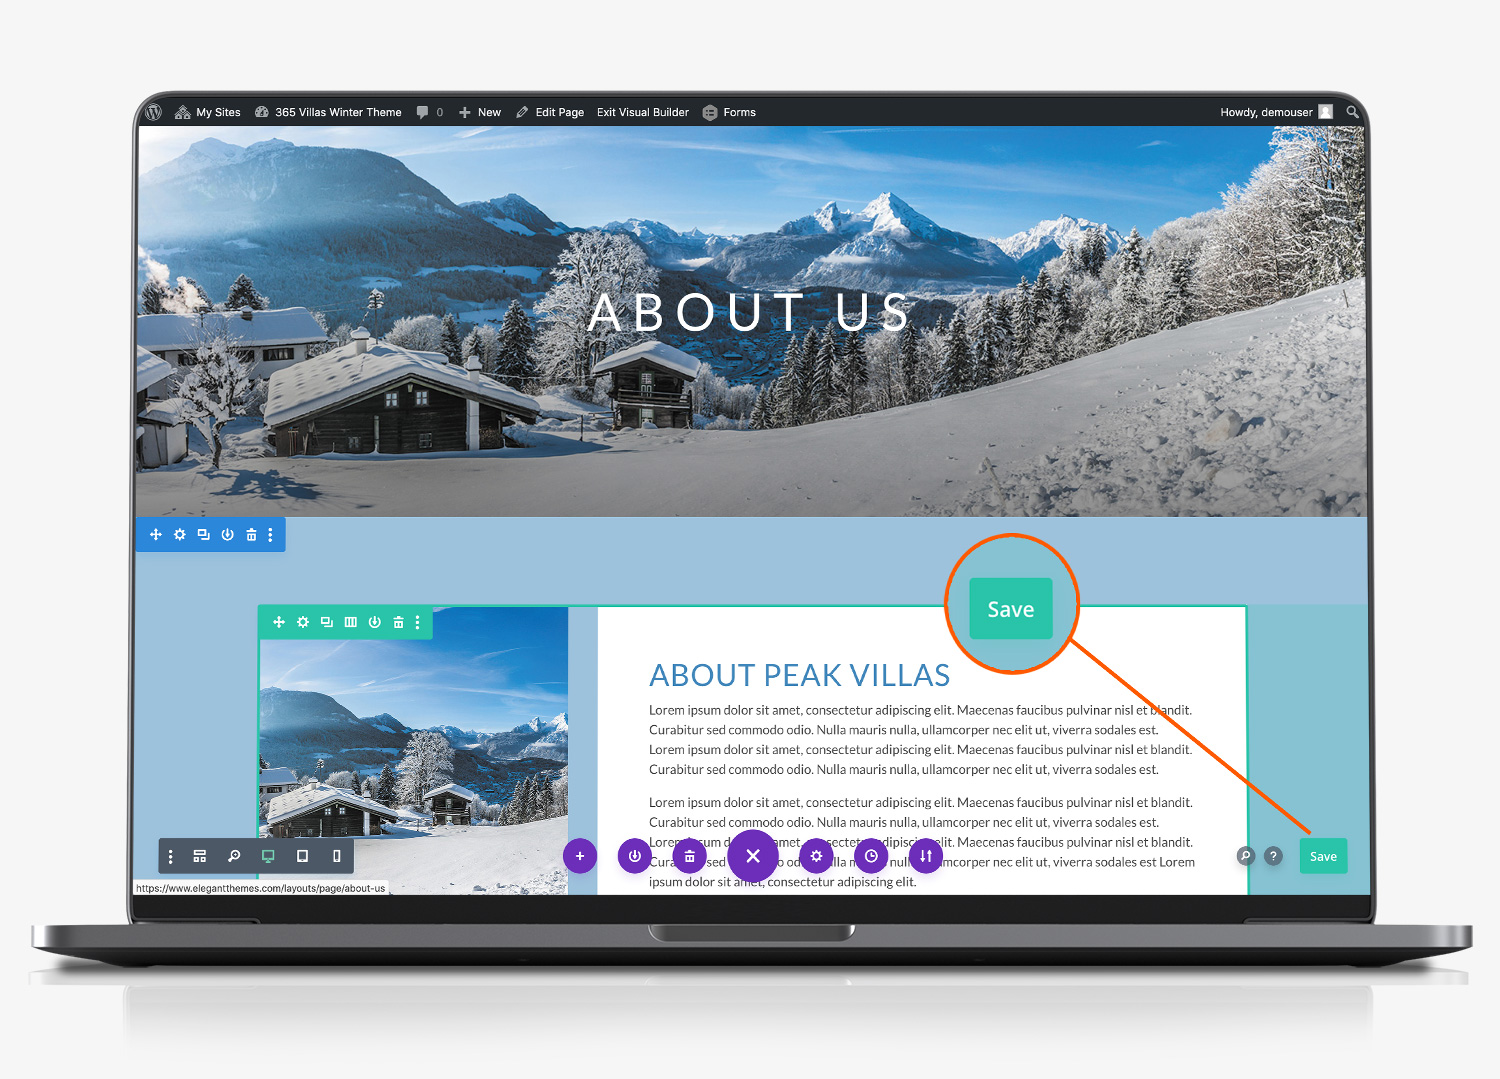
Save loaded page
When you have loaded the page and have finished making the edits you require, you must ‘save the page’ to ensure the changes are saved. Click the purple circle at the footer of the page, which expands to include a number of controls, and click ‘save’. The save button is green and is located in the bottom right section of the page.
Appearance > Menu
When you have created a new page. You need to link it to a navigation menu, in order for people to be able to find it.
- Click ‘appearance’ from the left hand menu and then click ‘menus’
- Beneath the ‘edit menus’ tab, select the menu you want to edit. By default your website includes a primary header menu, a sidebar menu and 2 footer menus (1 and 2):
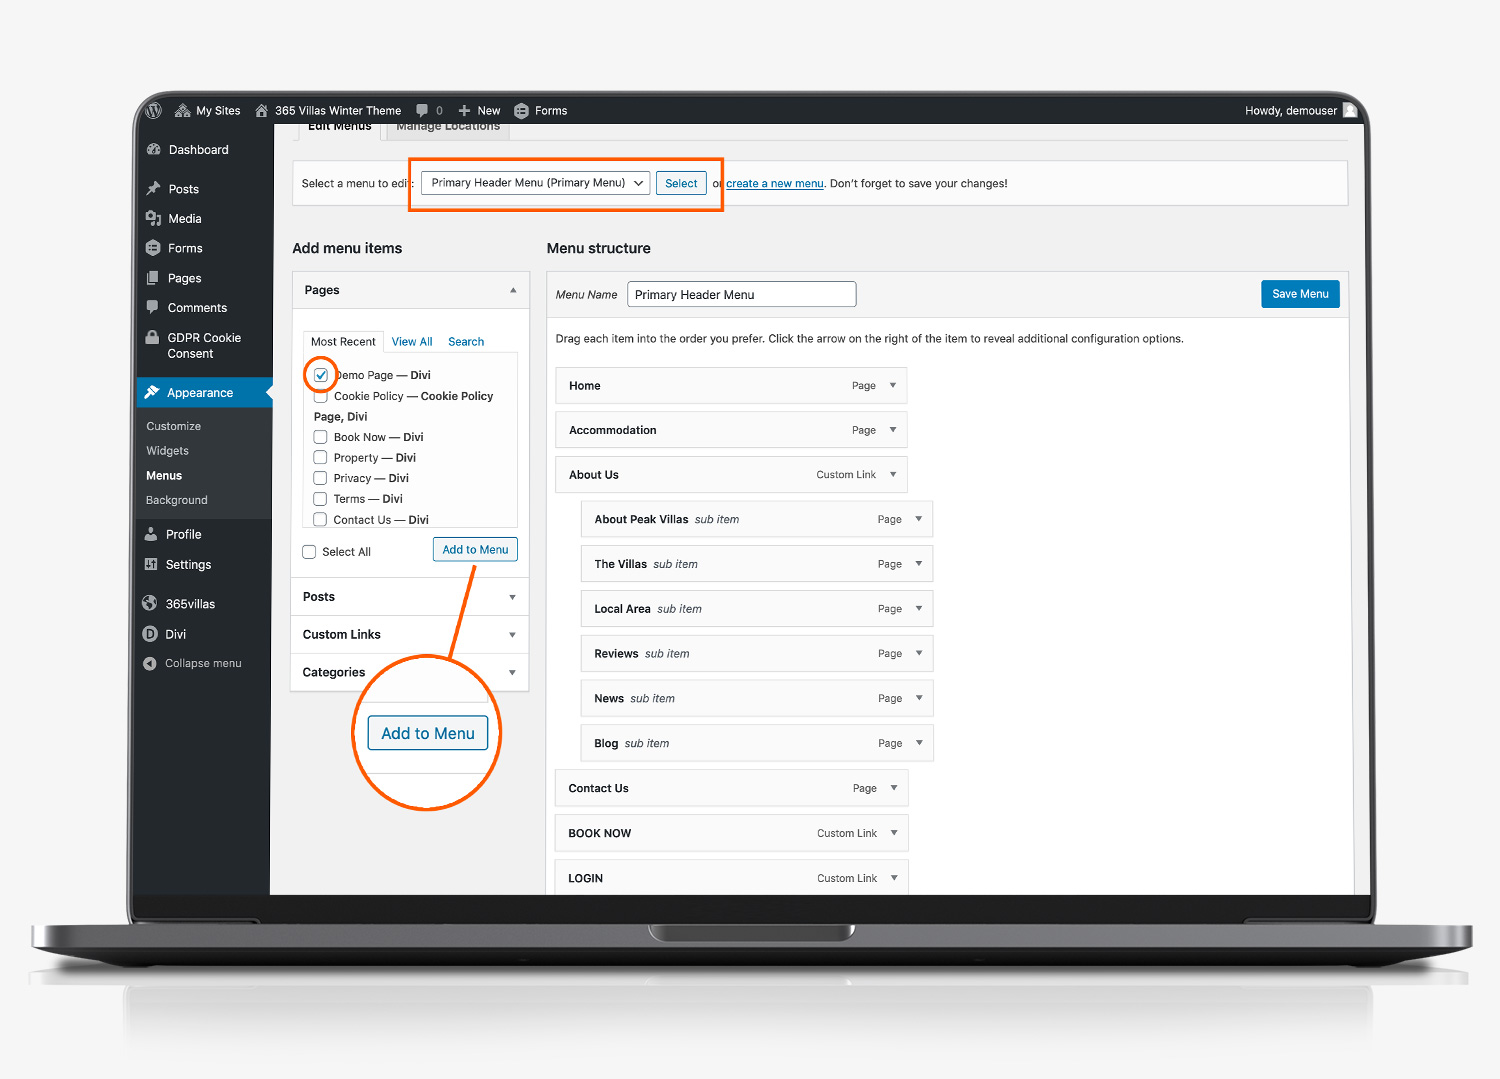
When you have selected the menu you want to edit, the pages currently included within the menu will beneath be listed in the main sectionof the page.
Drag page to menu position
To the left of the menu you have selected, you will see a list of all the pages across your website. Tick to select your new page and click the ‘Add to menu’ button beneath the list.
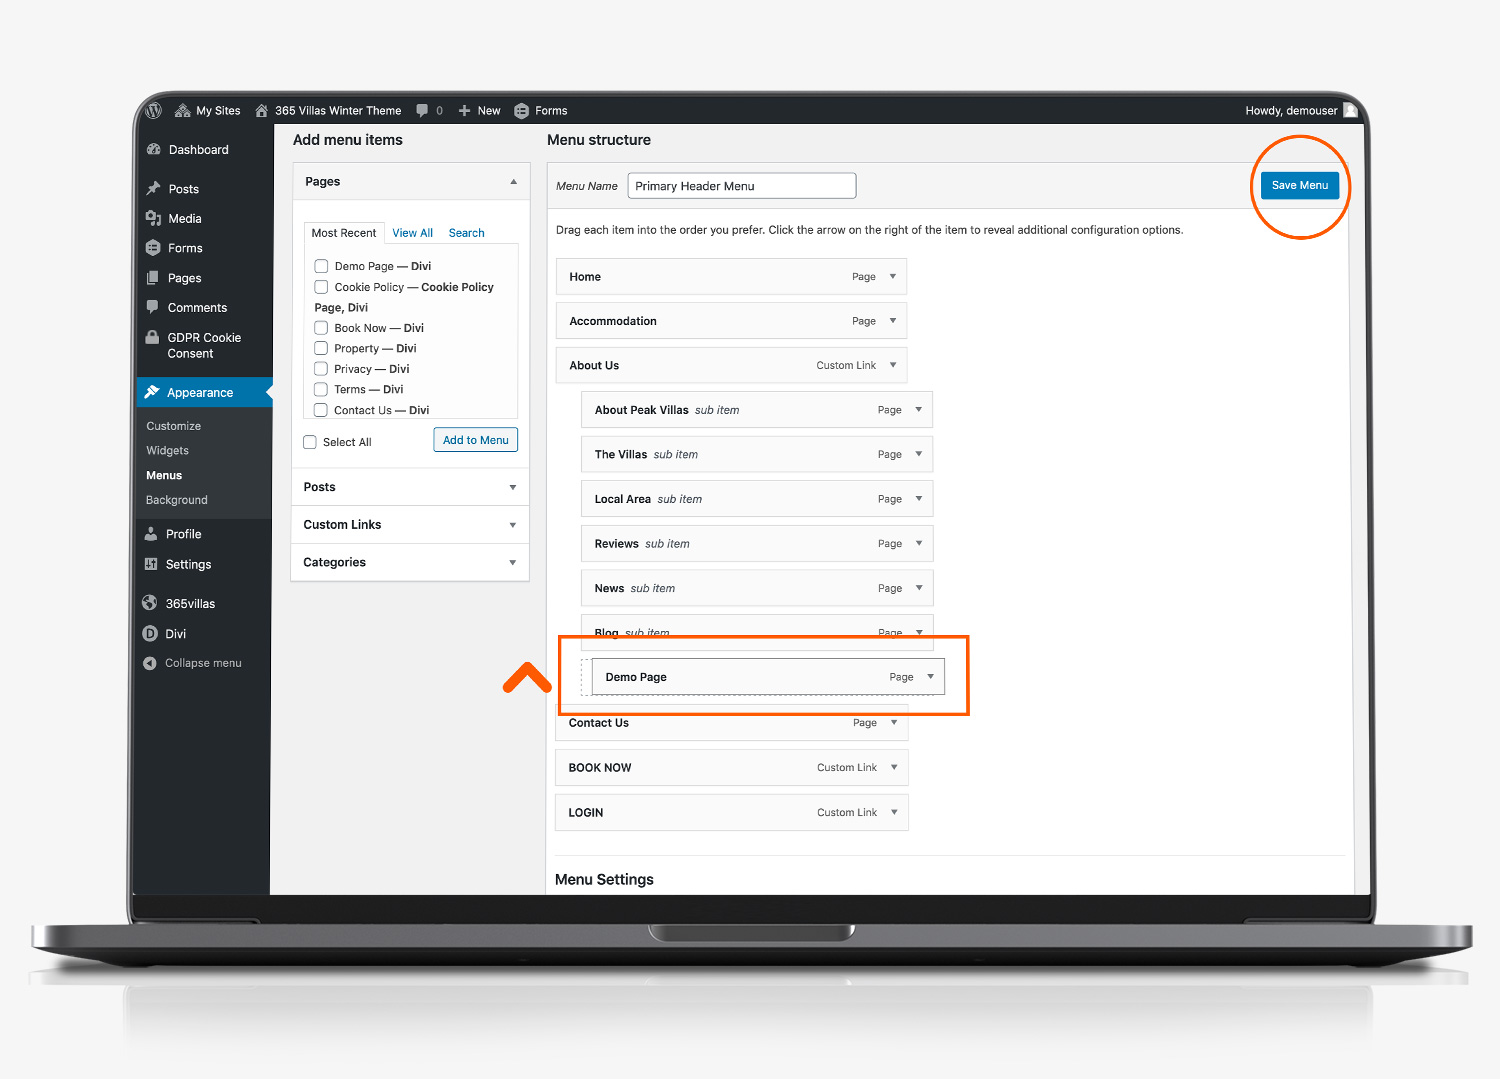
The page you have selected will appear at the bottom of the menu list in the main section of the page. Click the page (you will see the mouse control change to a cross) and you can drag and drop the page to where you want it to appear in the menu.
Be sure to click ‘save menu’ to commit the change.
Deleting a page
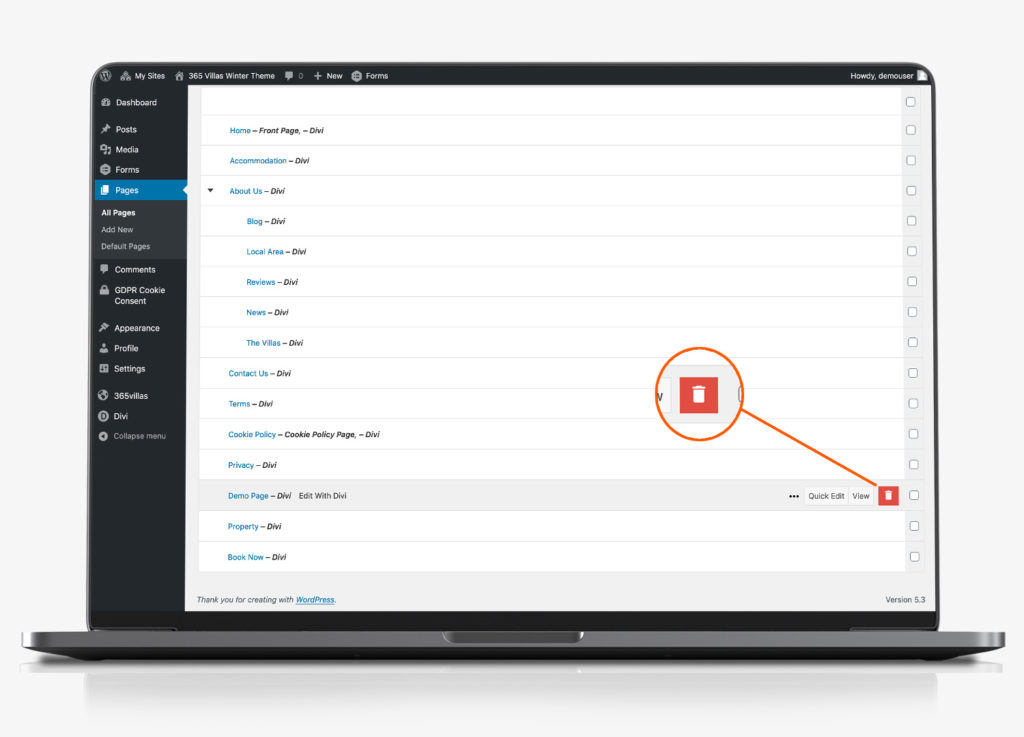
Deleting a page is straightforward.
- Click ‘pages’ to see a list of all the pages across your website.
- Place your mouse over the page you want to delete, this brings up editing controls
- On the far right click the delete icon. Confirm that you want to trash he page.
- If the page is linked to a menu item, edit the page and delete the link from the menu
